Hello and welcome back. In this blog post I will be running through a step by step trash bash tutorial to make a Sci Fi building.
This tutorial is aimed at newbies to one now often neglected aspect of our hobby, trash bashed terrain.

Trash bashing is using stuff that would normally be thrown out or put into the recycling bin. Cardboard, packing pieces, bottle tops, containers, bits of kits, old gift cards, drinks cans, food cans, model sprue and broken toys and more can be used to build a model.
Now I can hear some of you asking, with the massive array of plastic, mdf and resin models available, why bother trash bashing? Back in the day it was the only option for many of us. Vehicle kits were limited and terrain kits non existent. Resin models were limited too and expensive. So many wargamers had no option but to build their own. Many Sci Fi films and shows had models built in a similar fashion. It was fun playing identify the parts on the models on screen.
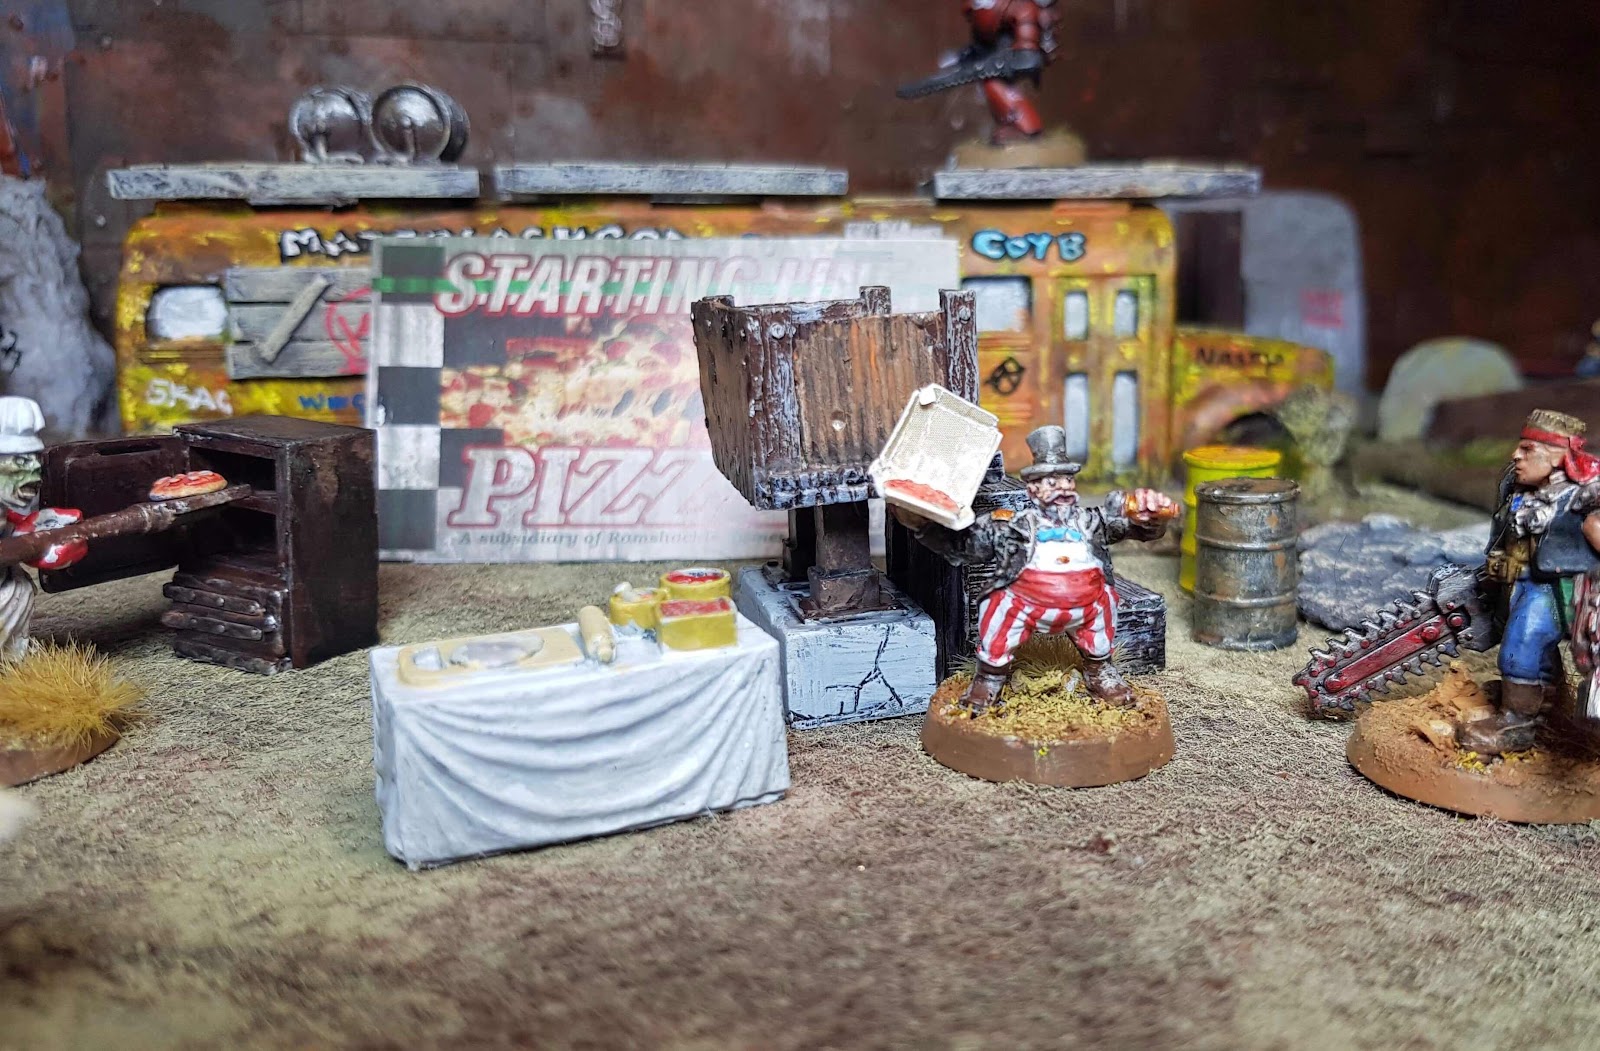
However what I tend to see now is tables of models which are starting to looks a bit samey. A trash bashed model or two adds variety to a table. Trash bashing is fun and helps the environment by up cycling/recycling stuff that would end up in land fill or burnt in a incinerator.
This tutorial will use trash items only but that isn’t to stop you using bits of kits especially if they help theme the terrain to your armies or table style. To speed things up there are also suppliers of wonderful bits to help make your trash bashes look more convincing.
Items needed: plastic food container, corrugated cardboard, thin cardboard (cereal packets), plastic or card gift cards, bits of old pens, model sprue, sand and a variety of junk from the bits box. I will also point out some of the errors and things I have learnt during this build.
Tools needed: hot glue gun, super glue, pva glue, hobby knife, sand paper.
Step 1.
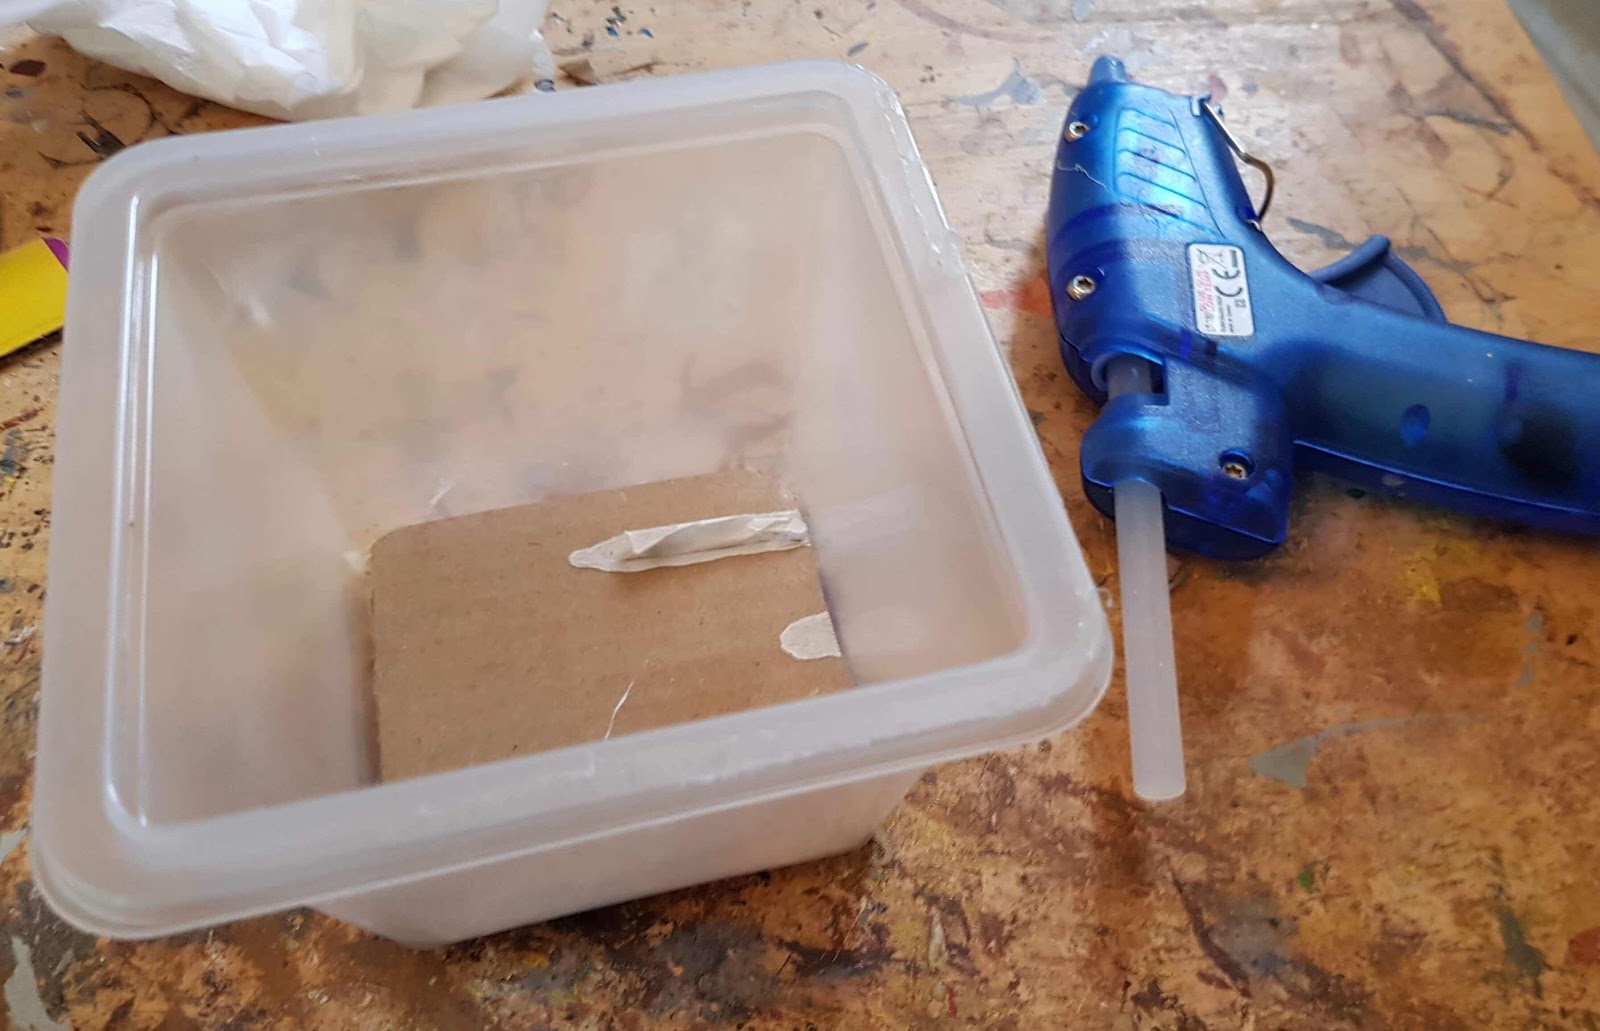
First we need a food tub. This one had rice in it. Consume the contents or wait until some else does. Wash the tub to clean the insides and remove any stickers/labels.
Tip: Some labels can be left on the container as they can add to the sci-fi panels look.

Step 2.
Once you have a shiny clean tub, it needs reinforcing. The plastic is often too flimsy to work with. There are a few ways to reinforce plastic tubs. Plaster of Paris (which would make it heavy), paper mache (great for curves and irregular shapes but can take a while to dry) or bits of corrugated cardboard. I chose the corrugated cardboard option. Cut to shape and hot glue to the insides of the tub.
Note - do not be tempted to use expanding foam for sealing holes in buildings on plastic containers. As it expands it deforms the plastic. It is great however for reinforcing pressed cardboard packing pieces.


Step 3.
Many plastic tubs come with a folded lip at the top which acts as a reinforcement for the tub. They can be filled with putty to give the impression of bumpers or crash defences. Some people like the lip but I am not a fan. Carefully cutting away from myself I trimmed the lip off.


This creates the problem of making the tub even more flimsy. I got around this be glueing the tub to a corrugated cardboard base.

Step 4.
Next up lightly sand the tub. This acts as a keying for the glue and paint. Don’t go too heavy as it will damage the tub.
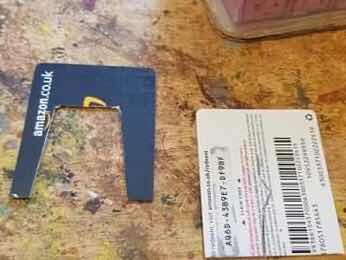
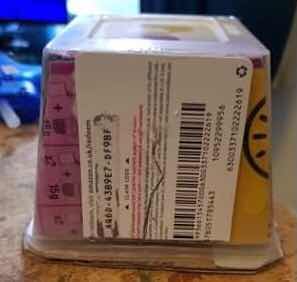
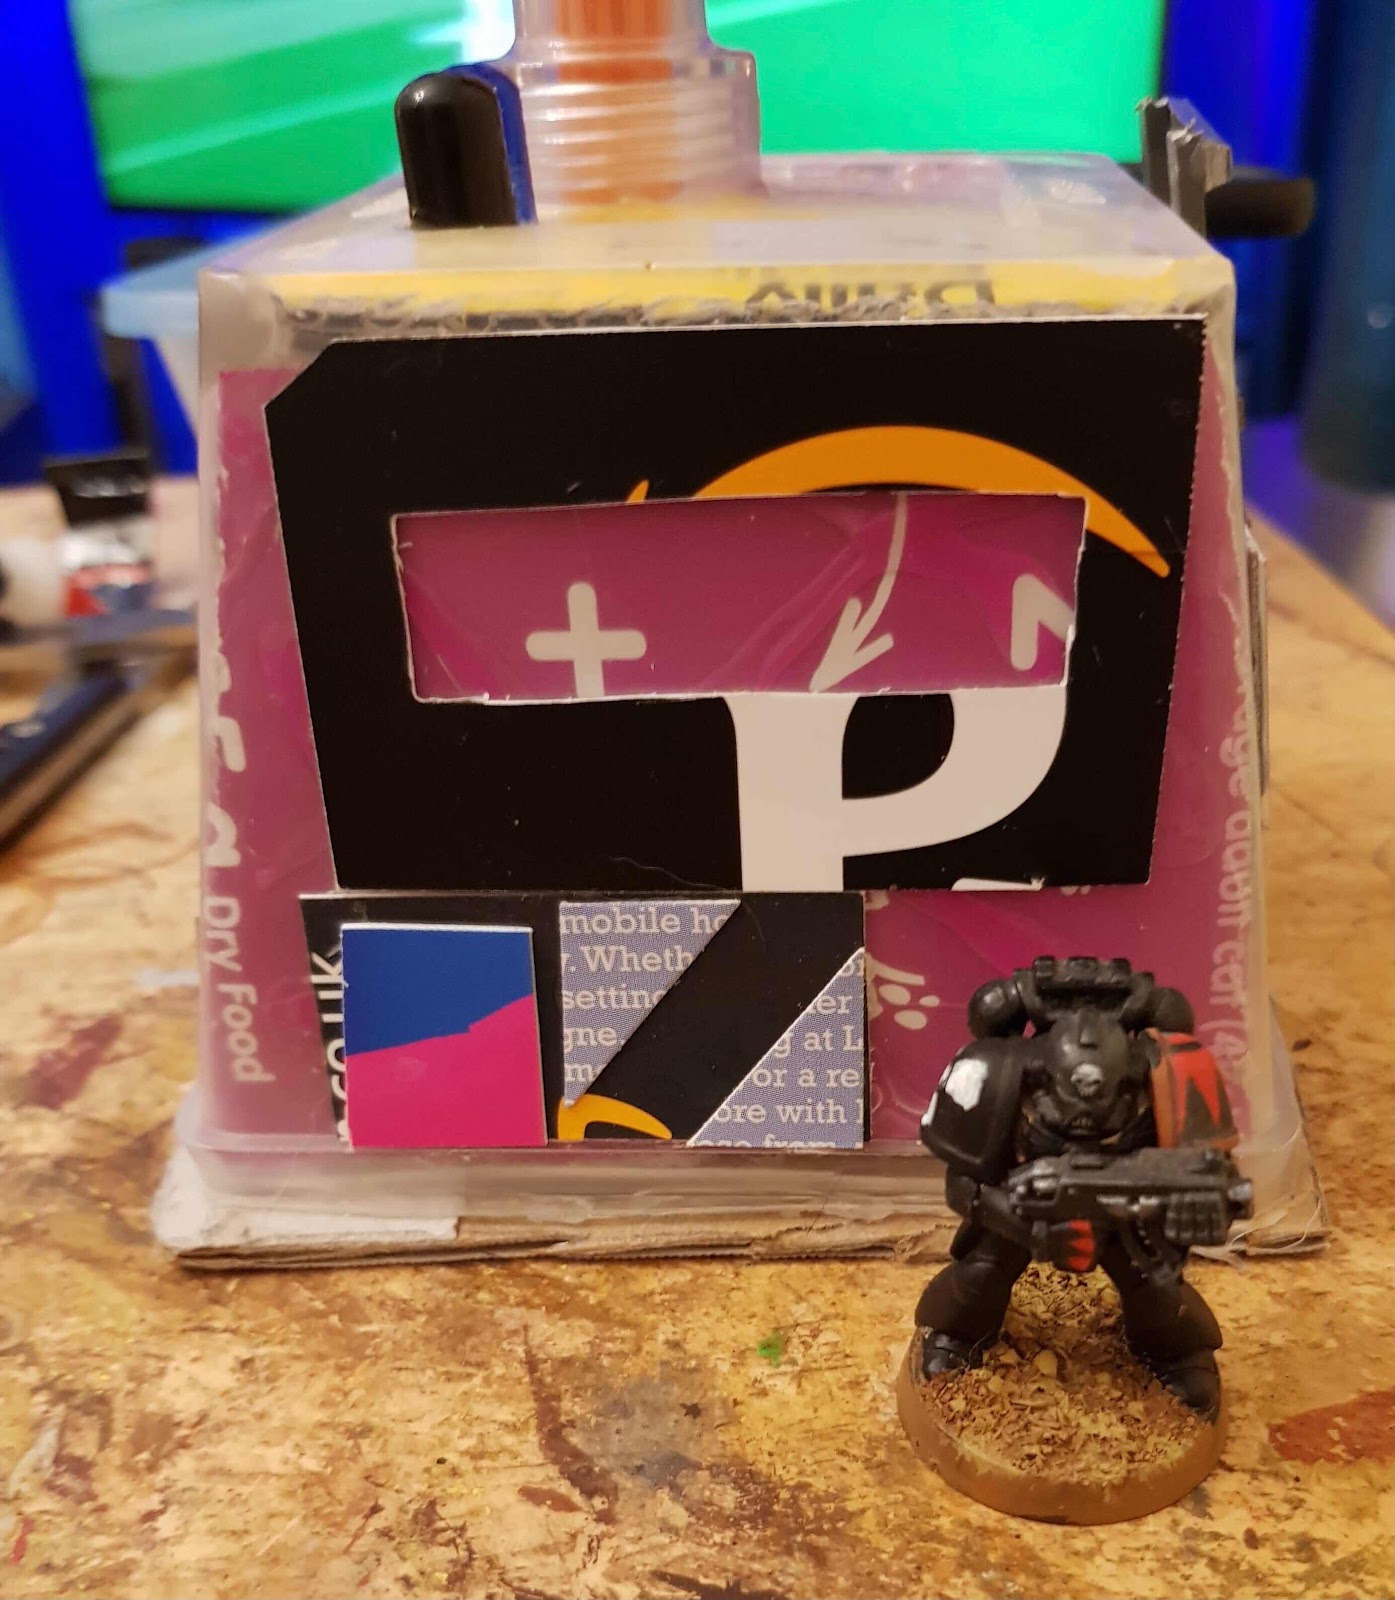
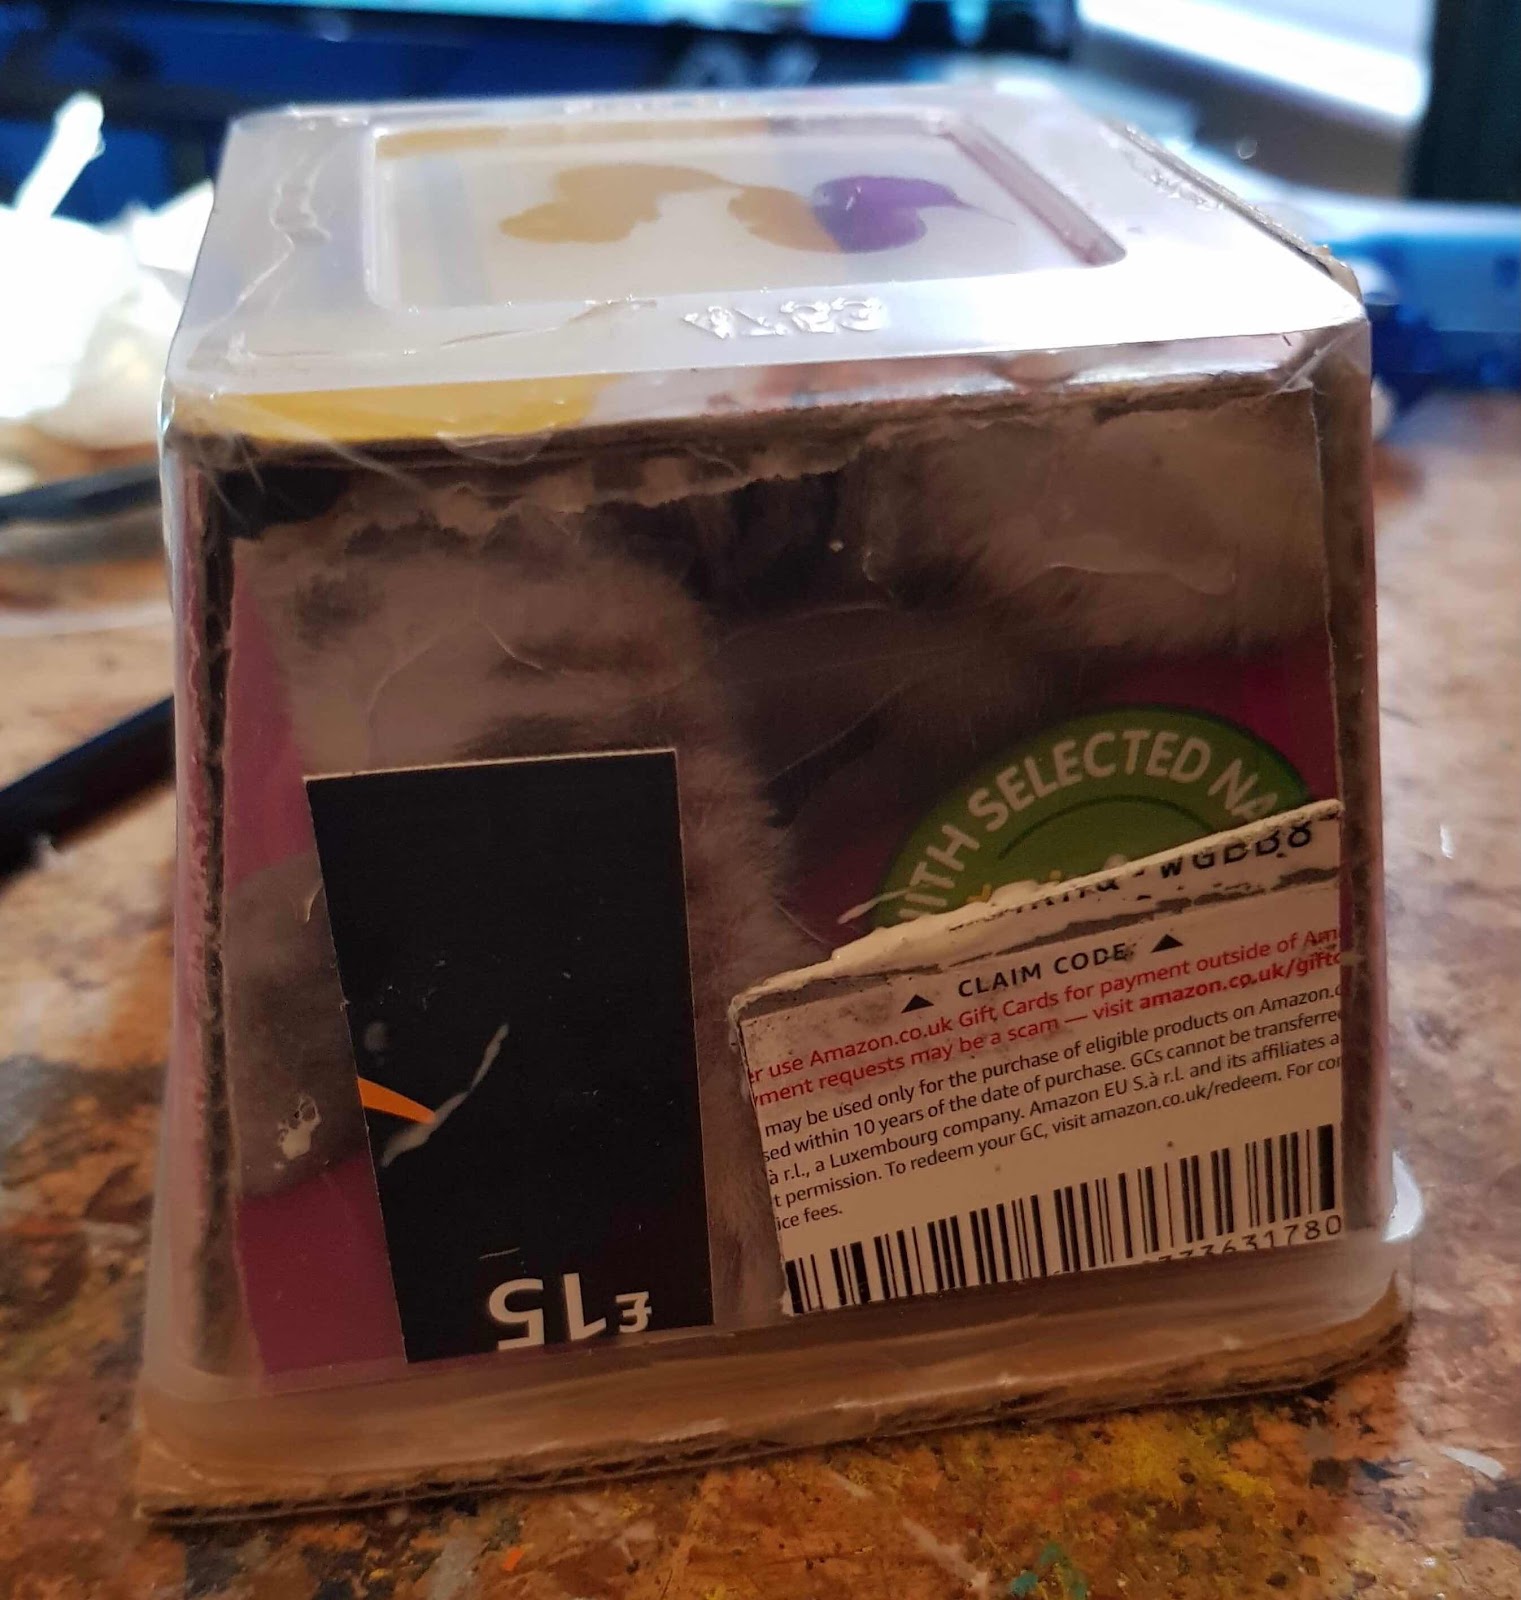
The door is carved from a cardboard gift card. I have learned the hard way from this. These gift cards are made from laminated cardboard and they are difficult to cut patterns or shapes in them.
The internal door is cut in a Sci Fi shape. The other card is makes up the frame.

Step 5.
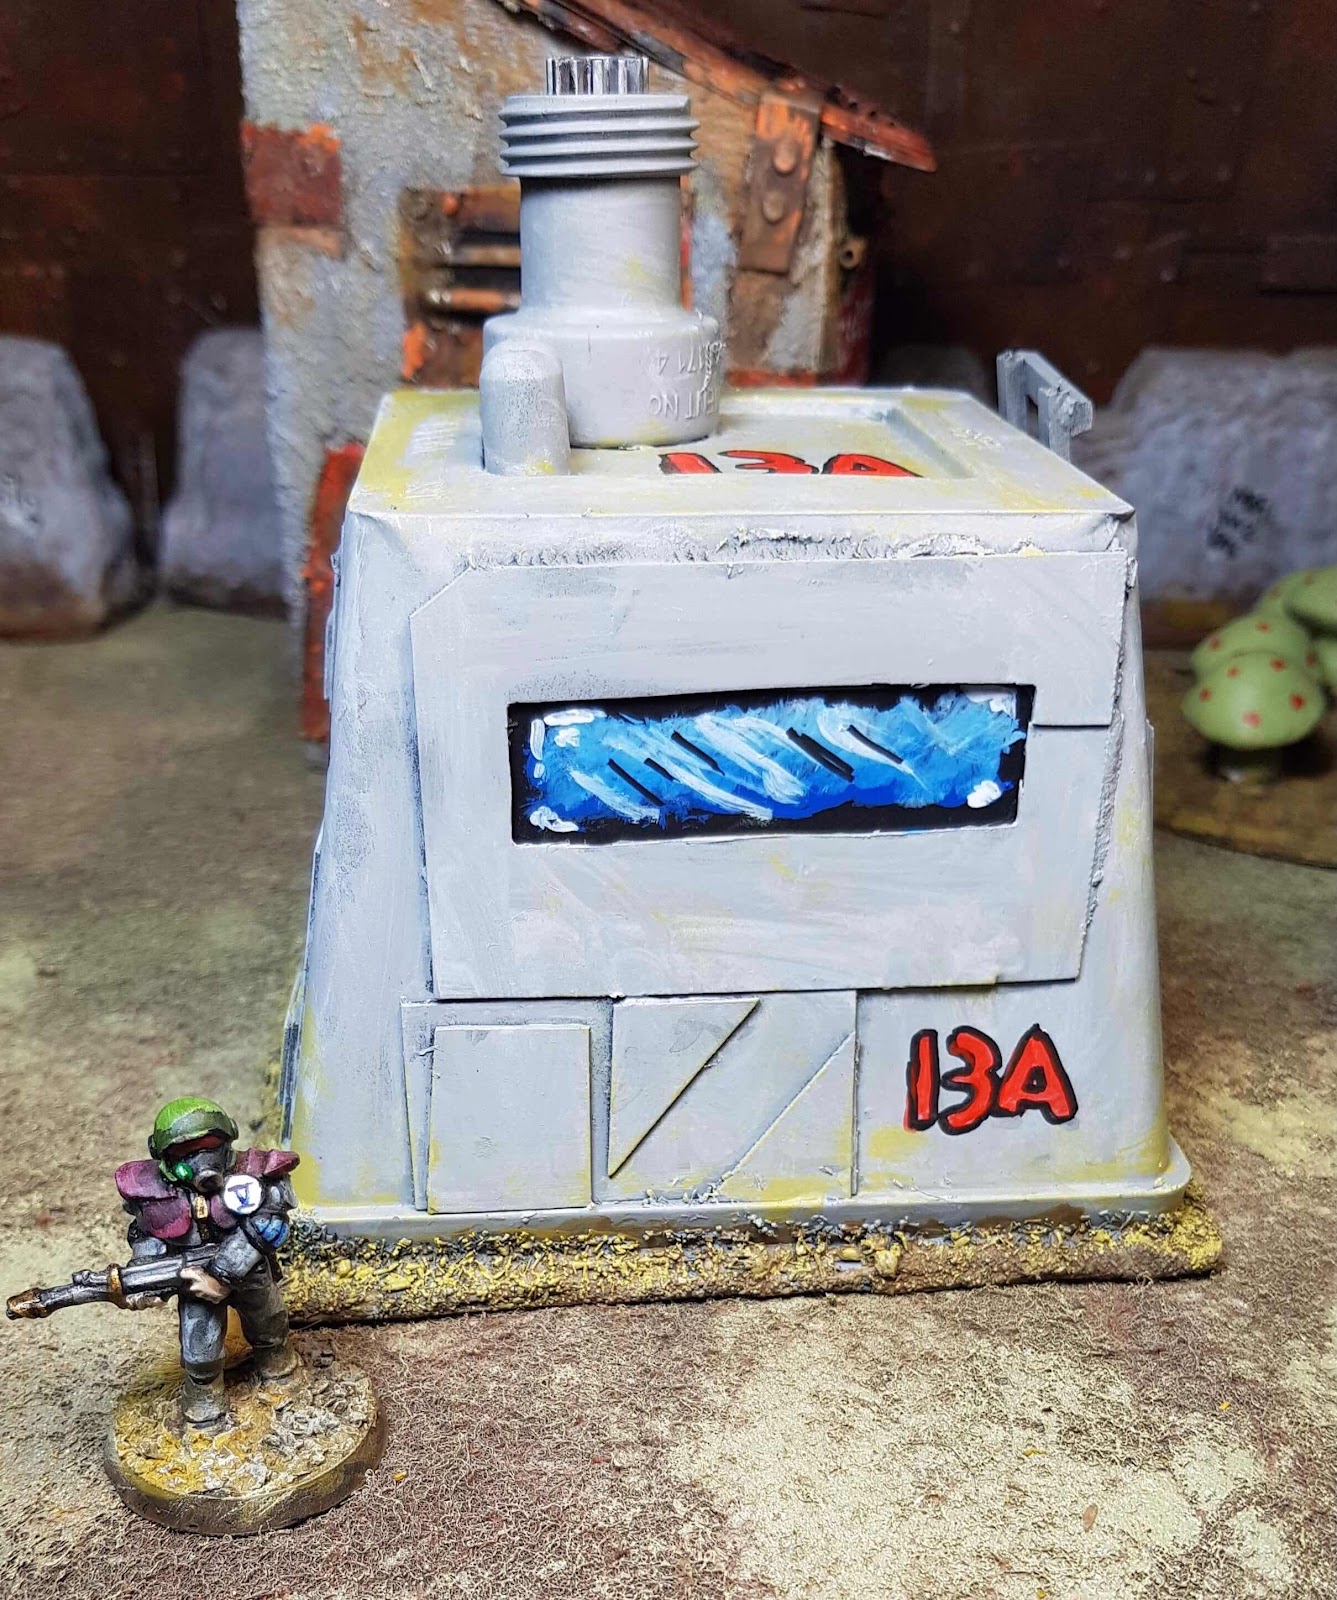
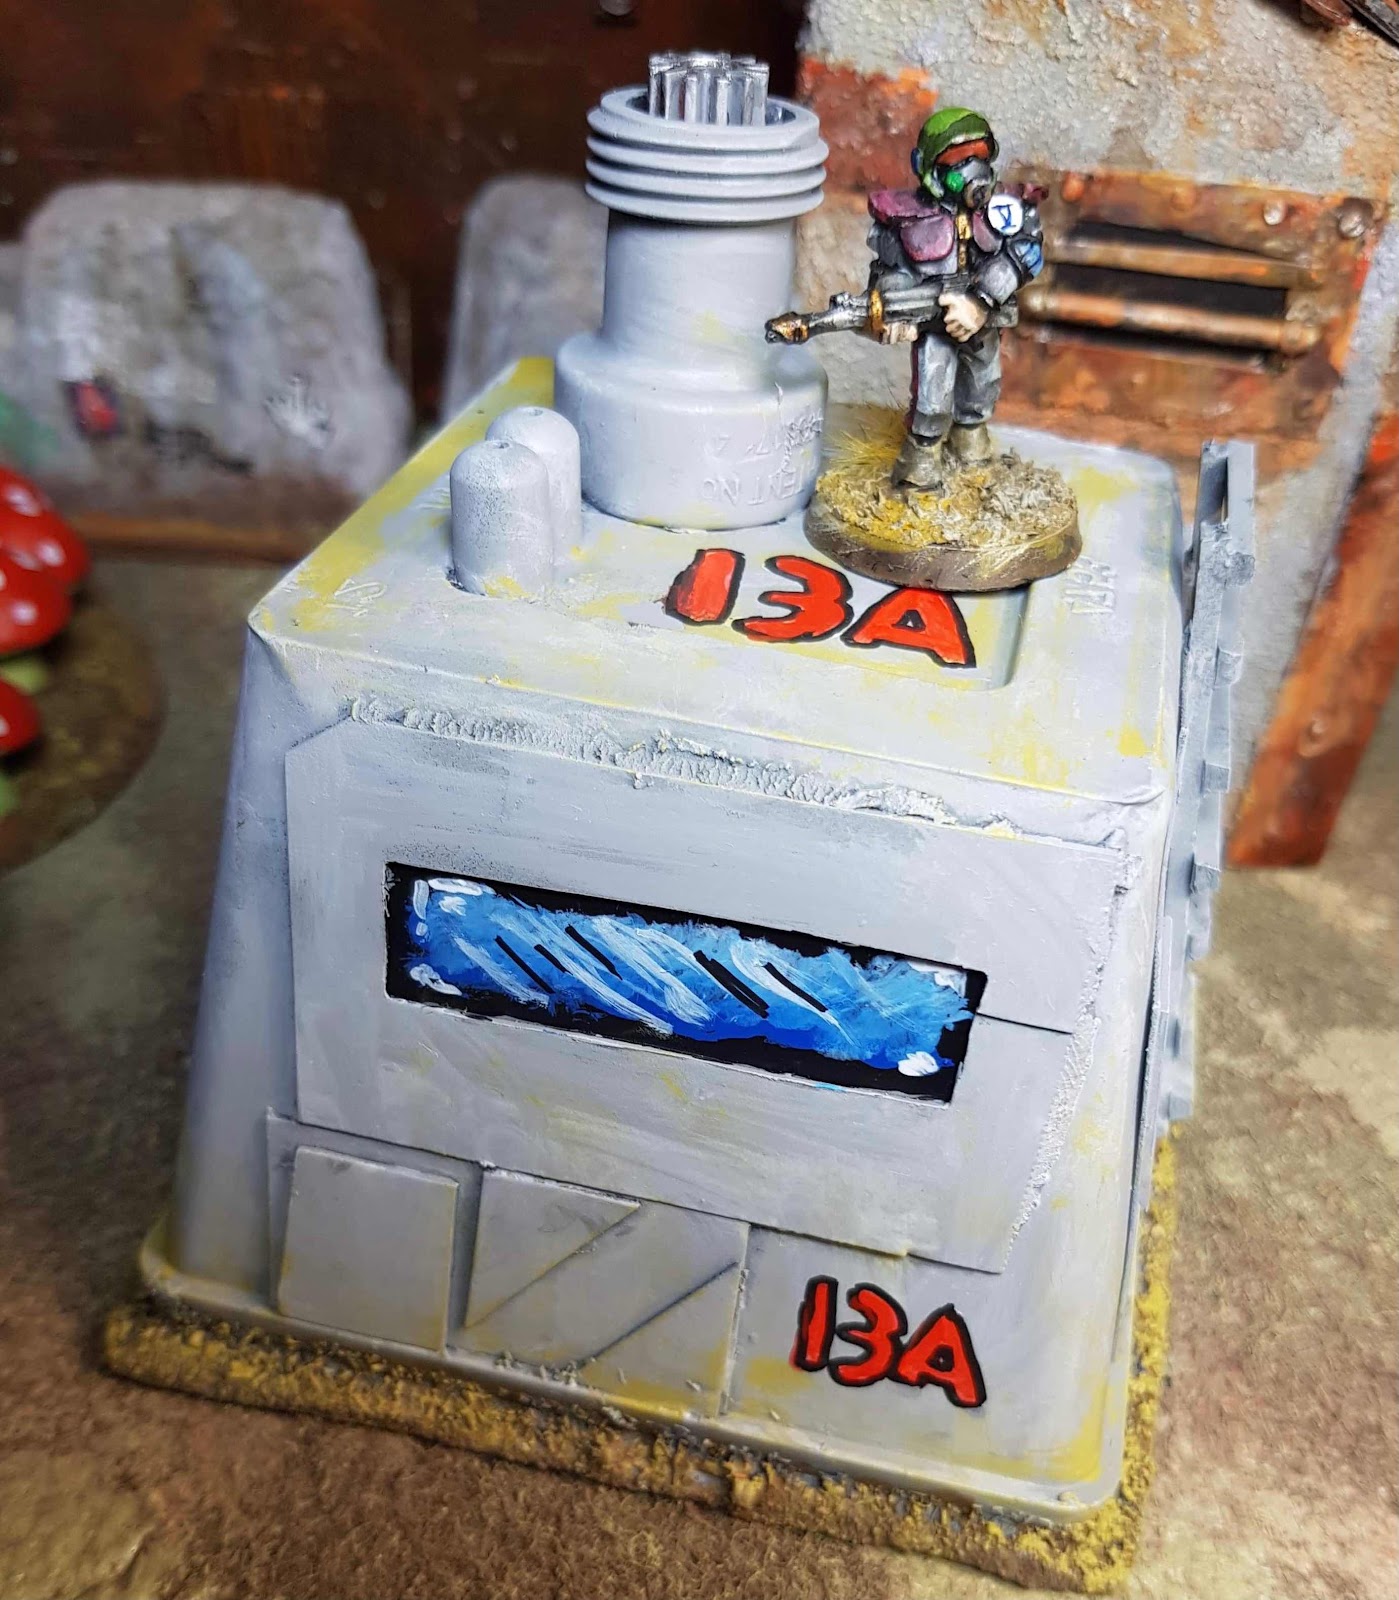
The window is carved from a gift card. The card split when cutting it. In retrospect cereal packet card would have been more suited to making the door and window.
Step 6

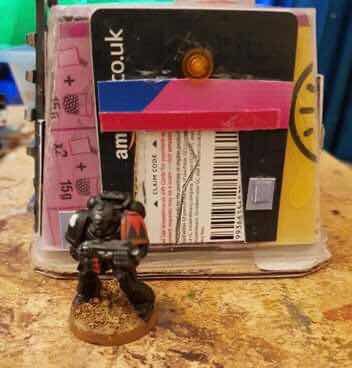
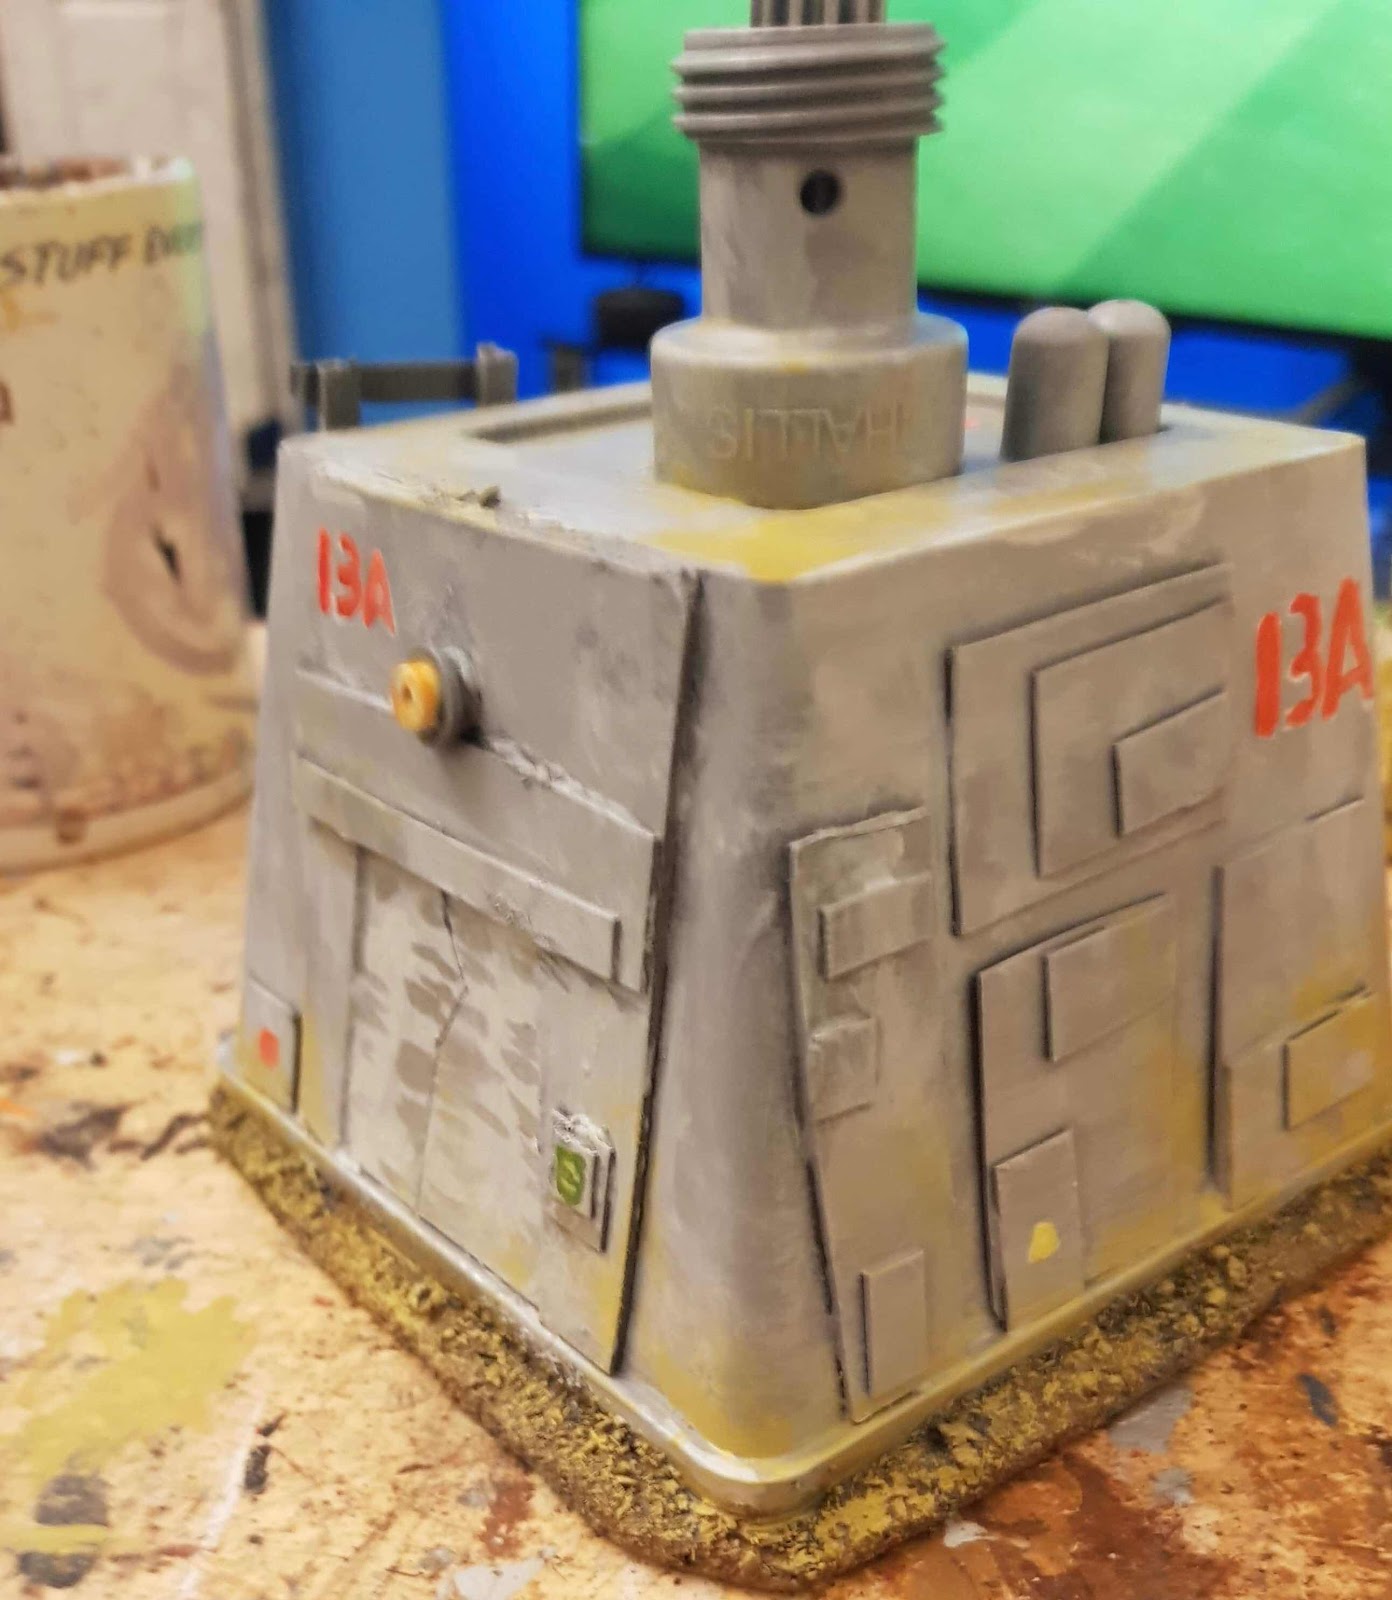
The tub is covered in cereal packet and gift card panels of different sizes and shapes.
The door frame has a panel made from card and a lintle. The light above the door is a bit of Lego.

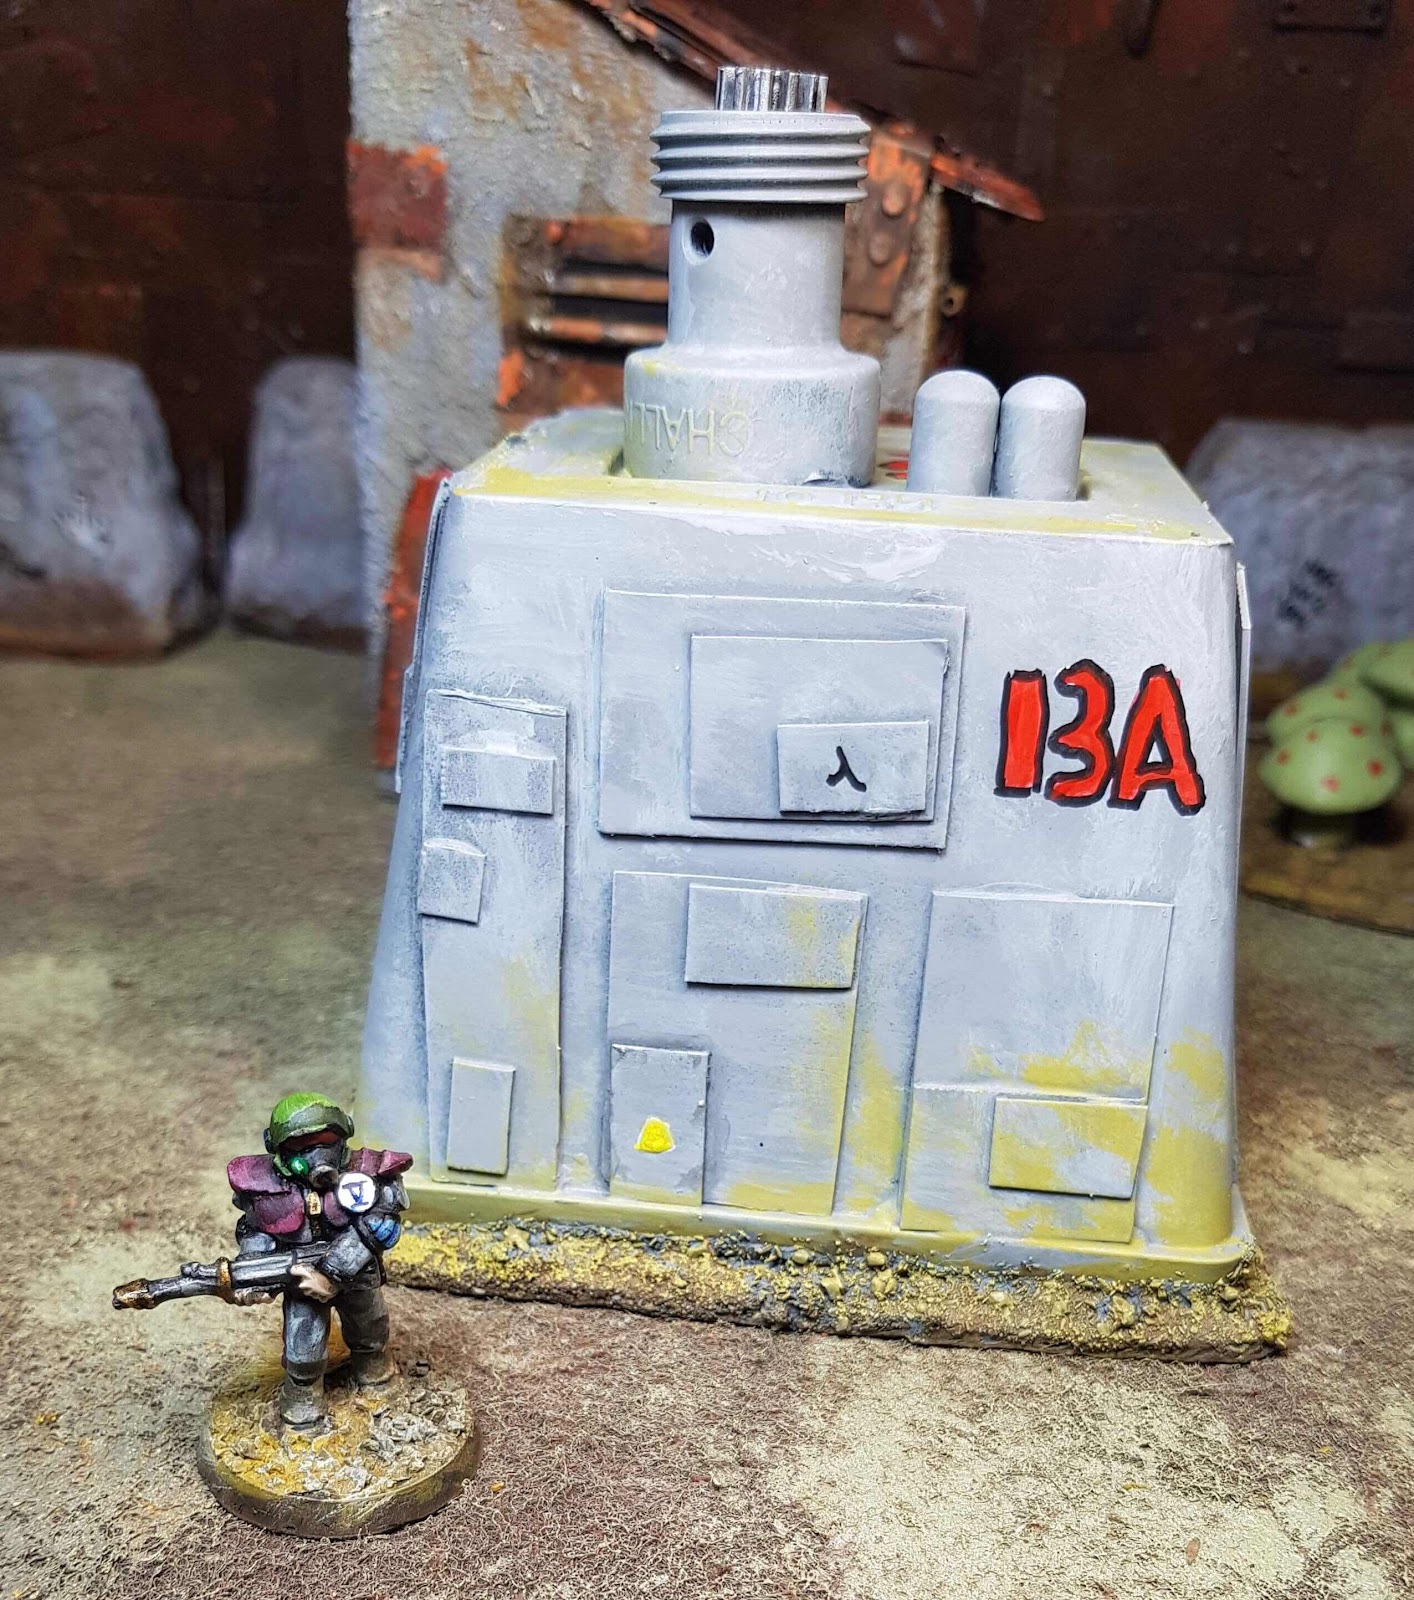
I decided that a ladder would be in order so figures can get onto the roof. I constructed this from lengths of sprue with rungs made from sprue.

The roof detail consists of bits of pens, a pen top and some plastic threaded do daa salvaged from some toy set.
In my wisdom I filled the crack above the window with putty. In my rush to finish I neglected to sand it smooth. The base had some sand glued on using PVA glue.
Step 7.

Once happy with the build I undercoated the model with grey paint. I use cheap auto primer. Do this in a well ventilated area and away from naked flames. If you have respiratory condition wear a respirator or similar.
The model was then dry brushed with a mid grey and then highlighted with a light grey. A dark wash ties it together and makes the details pop. The window was painted black then had a blue painted over it leaving a thin border of black. Light blue was painted along the top of the dark blue. Add some highlights in white here and there.

Paint details such as control panel labels, numbers and hazard stripes. After this it’s weathering time. Don’t go too mad. It depends on where this building will live. Different environments will weather a building differently. An old building will tend to have heavier weathering.

For this building I dry brushed some base colour along the bottom of the model. A lighter coloured and lighter dry brush was applied to the whole model.


I hope you have enjoyed this tutorial. Now get trash bashing!
Thanks for reading.