Welcome once again to my blog.
Today I will be exploring a seasonal topic, yet again. Back in the mists of time, I did another blog post along similar lines. But since December 2013 things have changed a little due to the changes in recycling and packaging practises & law. For instance plastic drinks straws and sweet wrappers are no more (at least in the UK). So I thought a update was in order.
Assuming that you have been good, you will hopefully get a load of nice miniatures and kits. Even if you are on the naughty list, you can liberate lots of items for you to use in your models.
Yeah, I even recycled some of the images.
Now you will need some terrain for your new table top forces to fight around. Any one who is into the Wargaming scene knows how expensive that can be. There is plenty of stuff out there at this time of year to make terrain from cheaply. All it takes is a little practise and imagination. Watching YouTube channels such as Billmakingstuff, Cheap and easy wargaming, Dan Does or Scrap Forge among others provide plenty of information, advice and inspiration on how to use these items.
Lots of these useful items are just laying about and waiting to be thrown out into the recycling bin. You will be the brave liberator saving them from the rubbish heap! Not to mention the extra kudos for recycling. I shall now list some of things you can find and what you can use them for.
First a rule – always ask permission to take or use stuff even if it is going into the bin. People find our hobby strange enough as it is without acting in a creepy and insane manner. You don’t want to get into trouble for stealing.
Another tip, when asked to explain when found digging in the rubbish and recycling asking/begging for items, tell them that you are working on a Art piece built from recycled materials. It's far easier than explaining that you want to make a model so your toy soldiers can fight over it! It can lead to long conversations with relatives looking puzzled or looking for a quick exit.
Strap in dear readers, this could be a long and bumpy sleigh ride!
Artificial Christmas Trees:
Last year's old tree is getting replaced. Before it goes to the landfill go check it out. Often there is realistic bits or just thick wires that make up branches. Trim the branch ends off with some clippers. They make great model trees. Some trees have realistic tips. Just take them off and you have a instant forest after gluing them to bases. Battery Operated LED lights:
There are a lot of cheap battery operated lights out in the stores this year. These lights can be butchered and added to models to make realistic looking lights. Now before you go mad go and read a few articles on what to do.
Blister Packaging:
Lots of things come in sealed blister packs that are often near impossible to get into. Often you have cut the item out. Keep this clear plastic. It is handy for using as a paint tray, making glass windows in models or even plastic card.
Broken Toys:
Come New Year there will be many broken children's toys out there headed for land fill. Check them out. Many toys have bits that can be used or recycled into something useful for the table top. Make sure you ask before you liberate these items. You don’t want a reputation as a grinch.
Cheap Toys:
This is the time of year that the thrift stores are filled with cheap toys. You can buy up a variety of items (or wait until they break) to use as detailing, terrain or tanks/vehicles.
Christmas Cards:
Christmas has passed and you and your loved ones have a pile of greeting cards to go to the tip. The fronts of these cards may have sticky jewels or other decorative items that can be salvaged and used on your models. The backs of the cards can be used for model making. Many of my own models use thin card for detailing.
Christmas Ornaments:
If your family follows trends they may replace decorations regularly or your family may just want to replace older worn out decorations. Grab these redundant decorations as many are usable for terrain. Don't neglect the old tree decorations either. Many can be used as building parts while others may be used for other things such as turning baubles into planets for starship games. At worst the oraments can be cannibalised into something else.
Cocktail Sticks:
So you are hanging around the Buffet filling up on grub. There in front of you is a party treat designed by Vlad the Impaler. Stuff stuck on a wooden stick. Eat your fill and keep the sticks. They are handy for making fences, pinning bits of polystyrene and the all important Punji Stakes to impale those pesky dungeon explorers.
Corrugated Cardboard:
Often at this time of year someone gets some new white goods, furnature, parcels get delivered or a BIG gift arrives. These often come in corrugated cardboard boxes. This material is handy for making buildings, ruins and other stuff. I often use it as basing material and I have built roads out of it. The issue with corrugated cardboard is that it can warp. Layer it so that the corrugations on the layers run in opposite directions. It helps build the strength.
Drinks Stirrers:
At this time of year, you will often meet friends at fast food places and coffee shops. These places often have wooden or plastic stirrers (from the less Eco friendly establishment). Grab a few. Wooden sticks can be used for making fences or flooring. Plastic stirrers can be used as struts, detail, aerials, sign posts and more. I have even though of using them as a base for building 1/3500 scale star ships.
Drinks packaging:
Christmas is a time for drinks, in both soft and alcoholic forms. Gift drinks some times come in cardboard tubes or boxes which can be used in a various ways. Interseting looking plastic drinks bottles may need some work to make them usable. Plastic bottle tops are usable for wheels, vents or windows. Drinks cans can be used to make industrial towers.
Fast Food tubs:
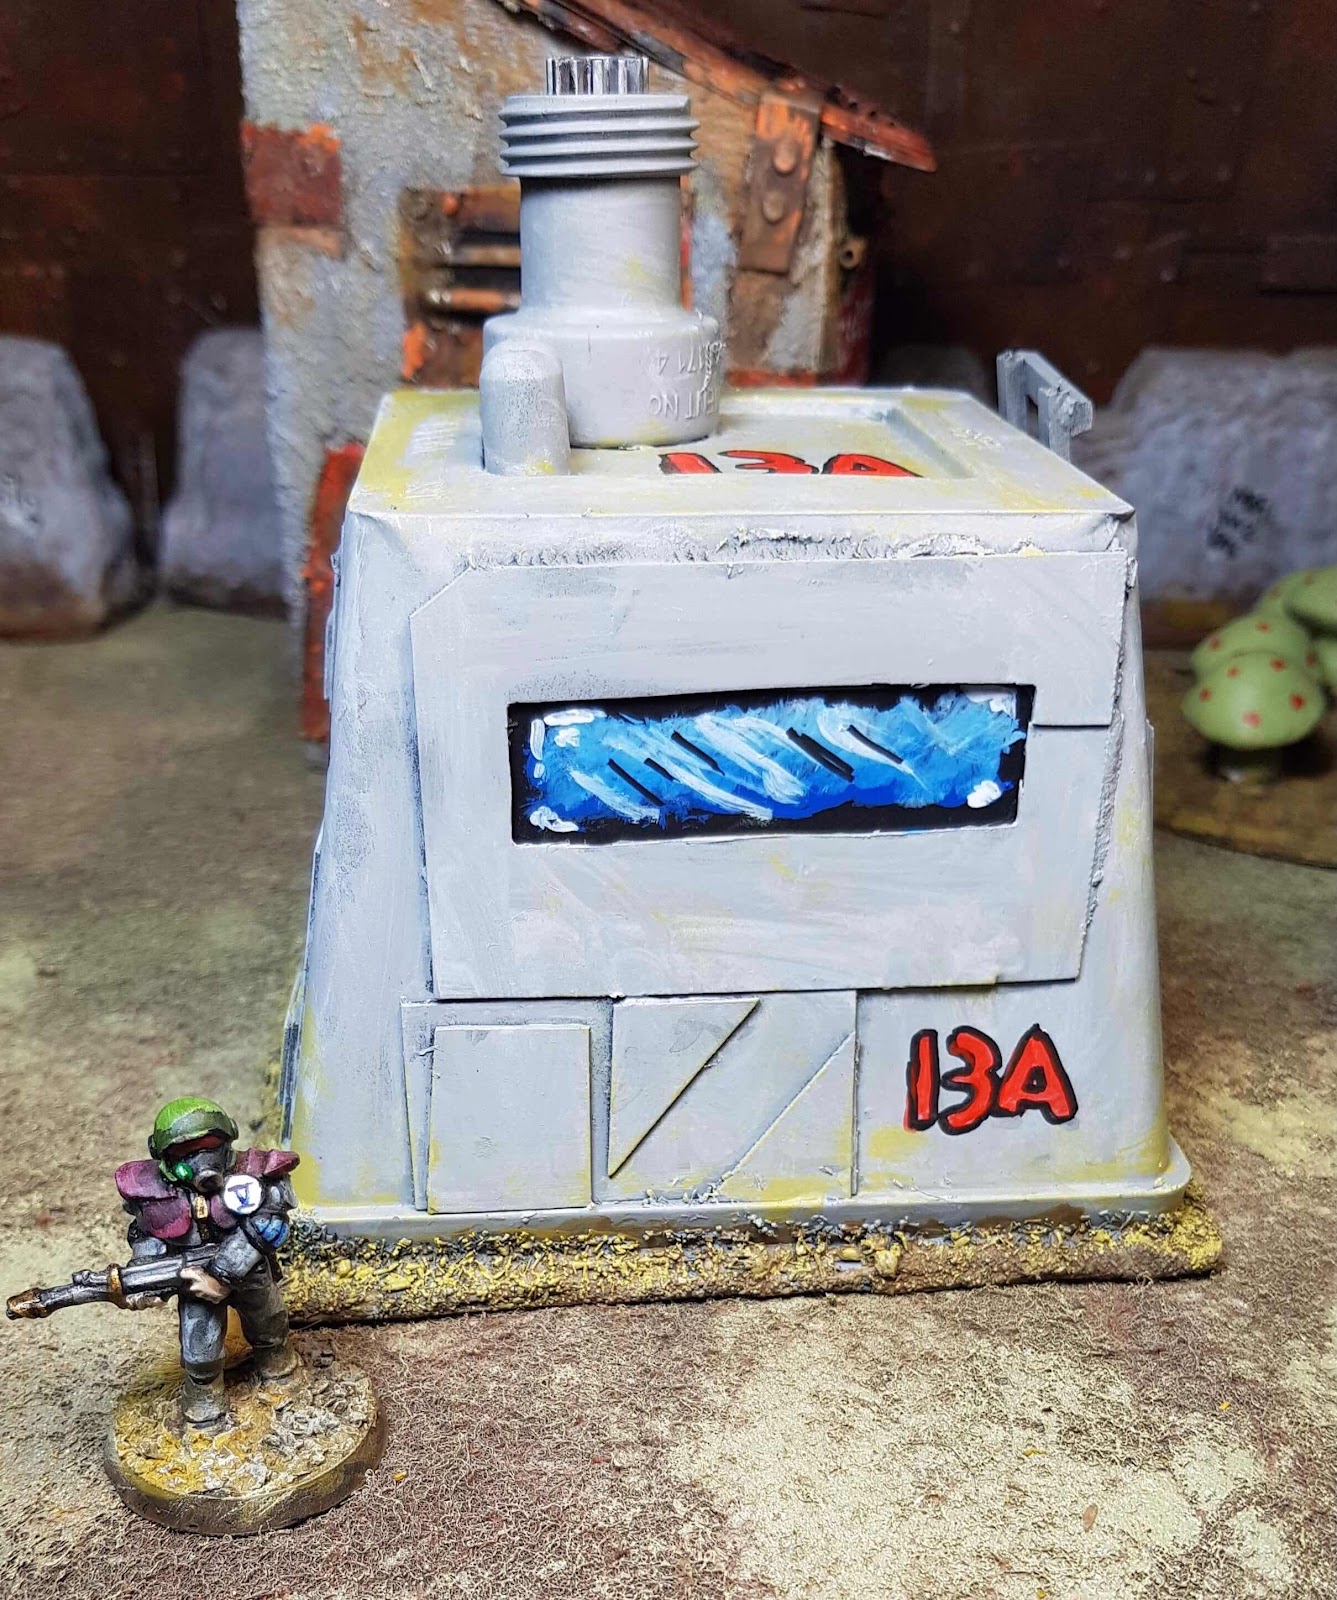
At this time of year people often send out for take away while busy decorating of after a hard day shopping. Sometimes these meals come in plastic tubs that are useful for making models or can be used for figure or parts storage. Once they have been cleaned that is.
Food Packaging:
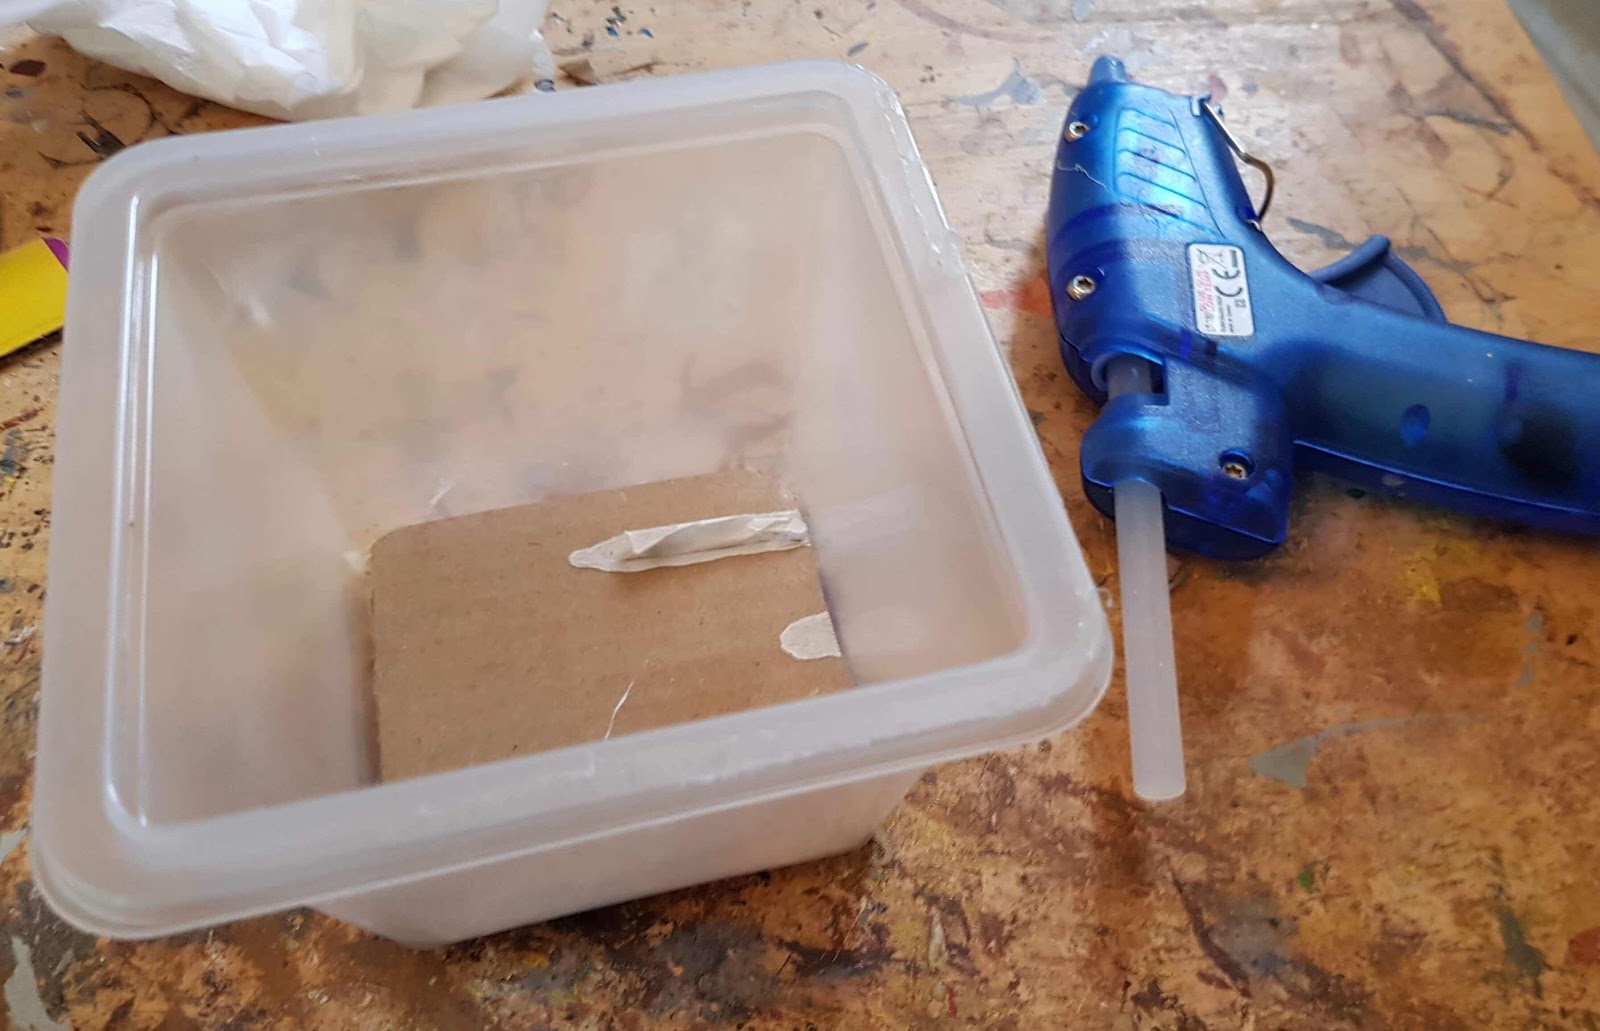
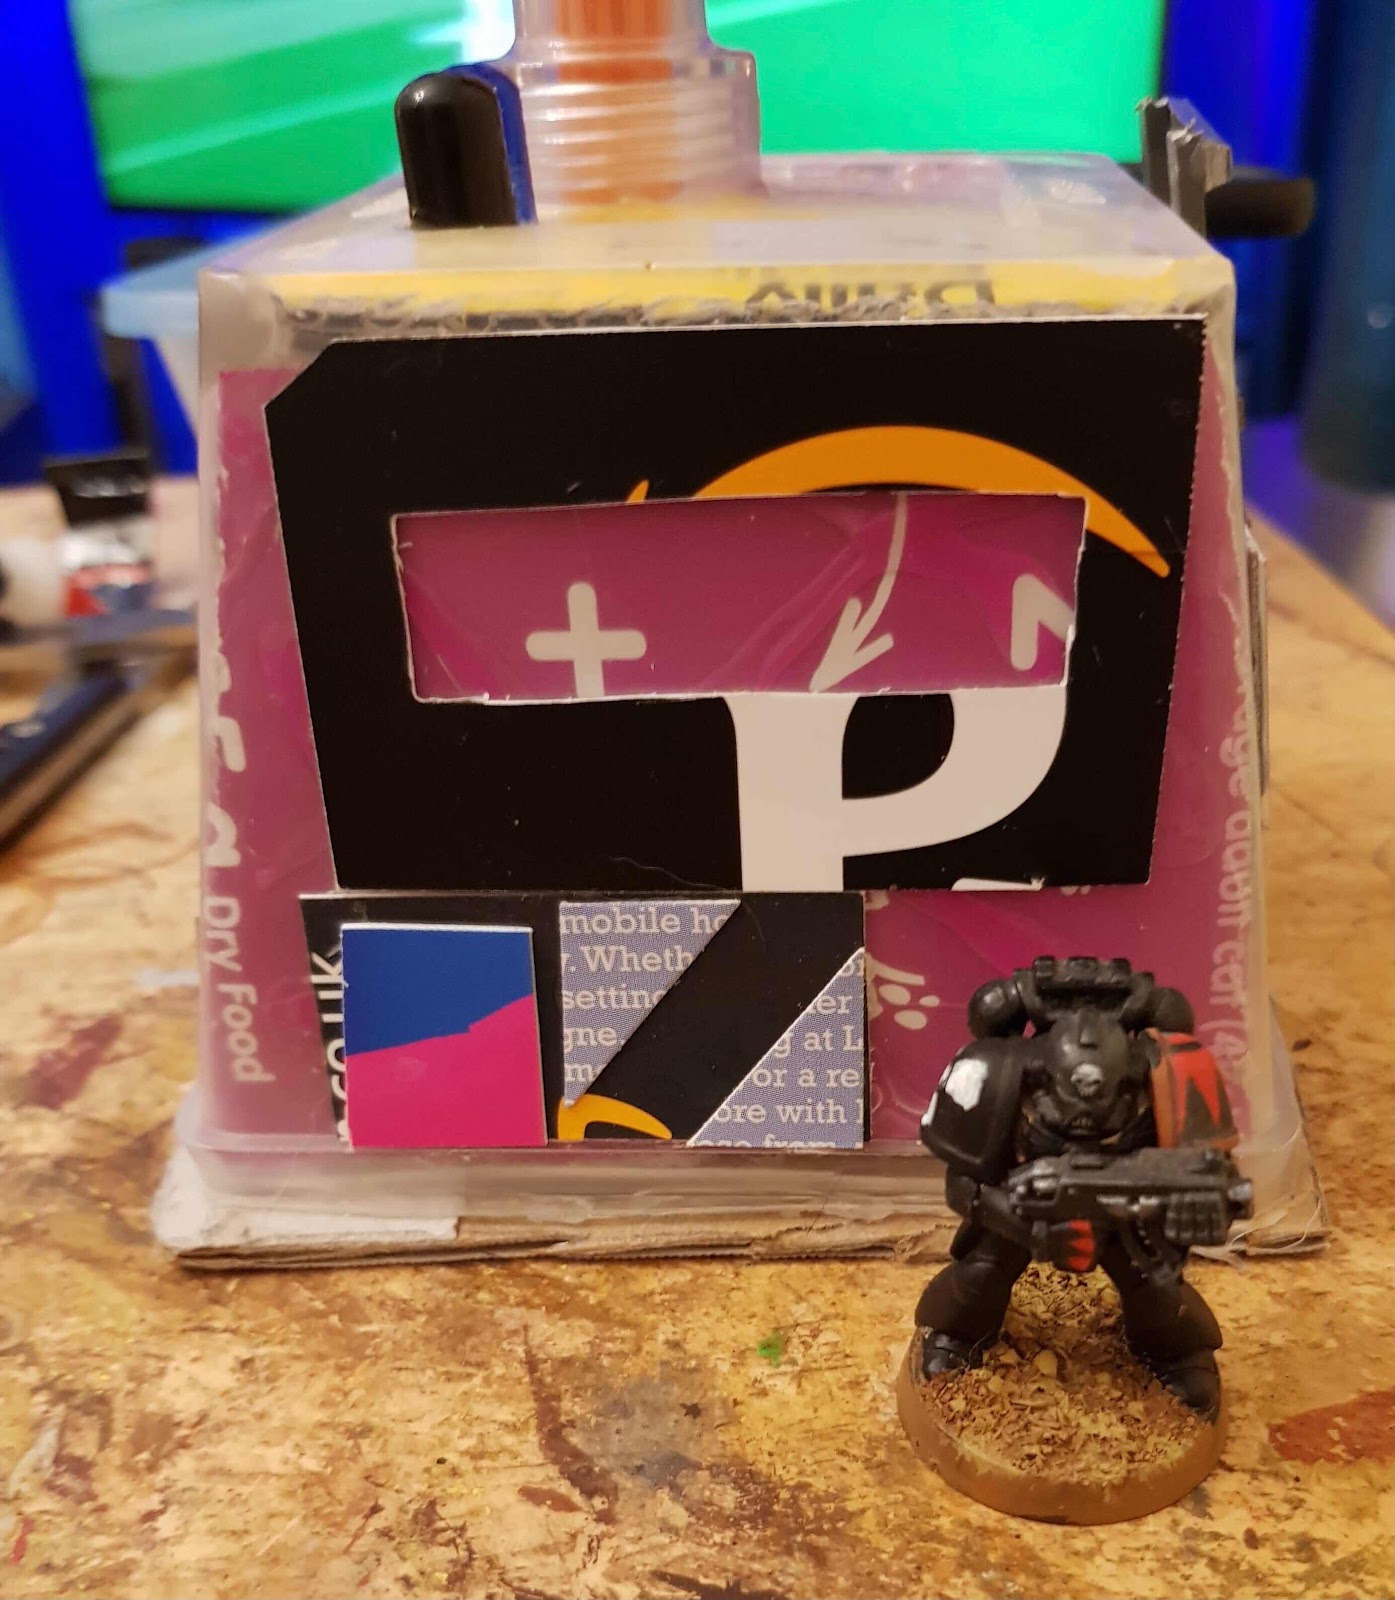
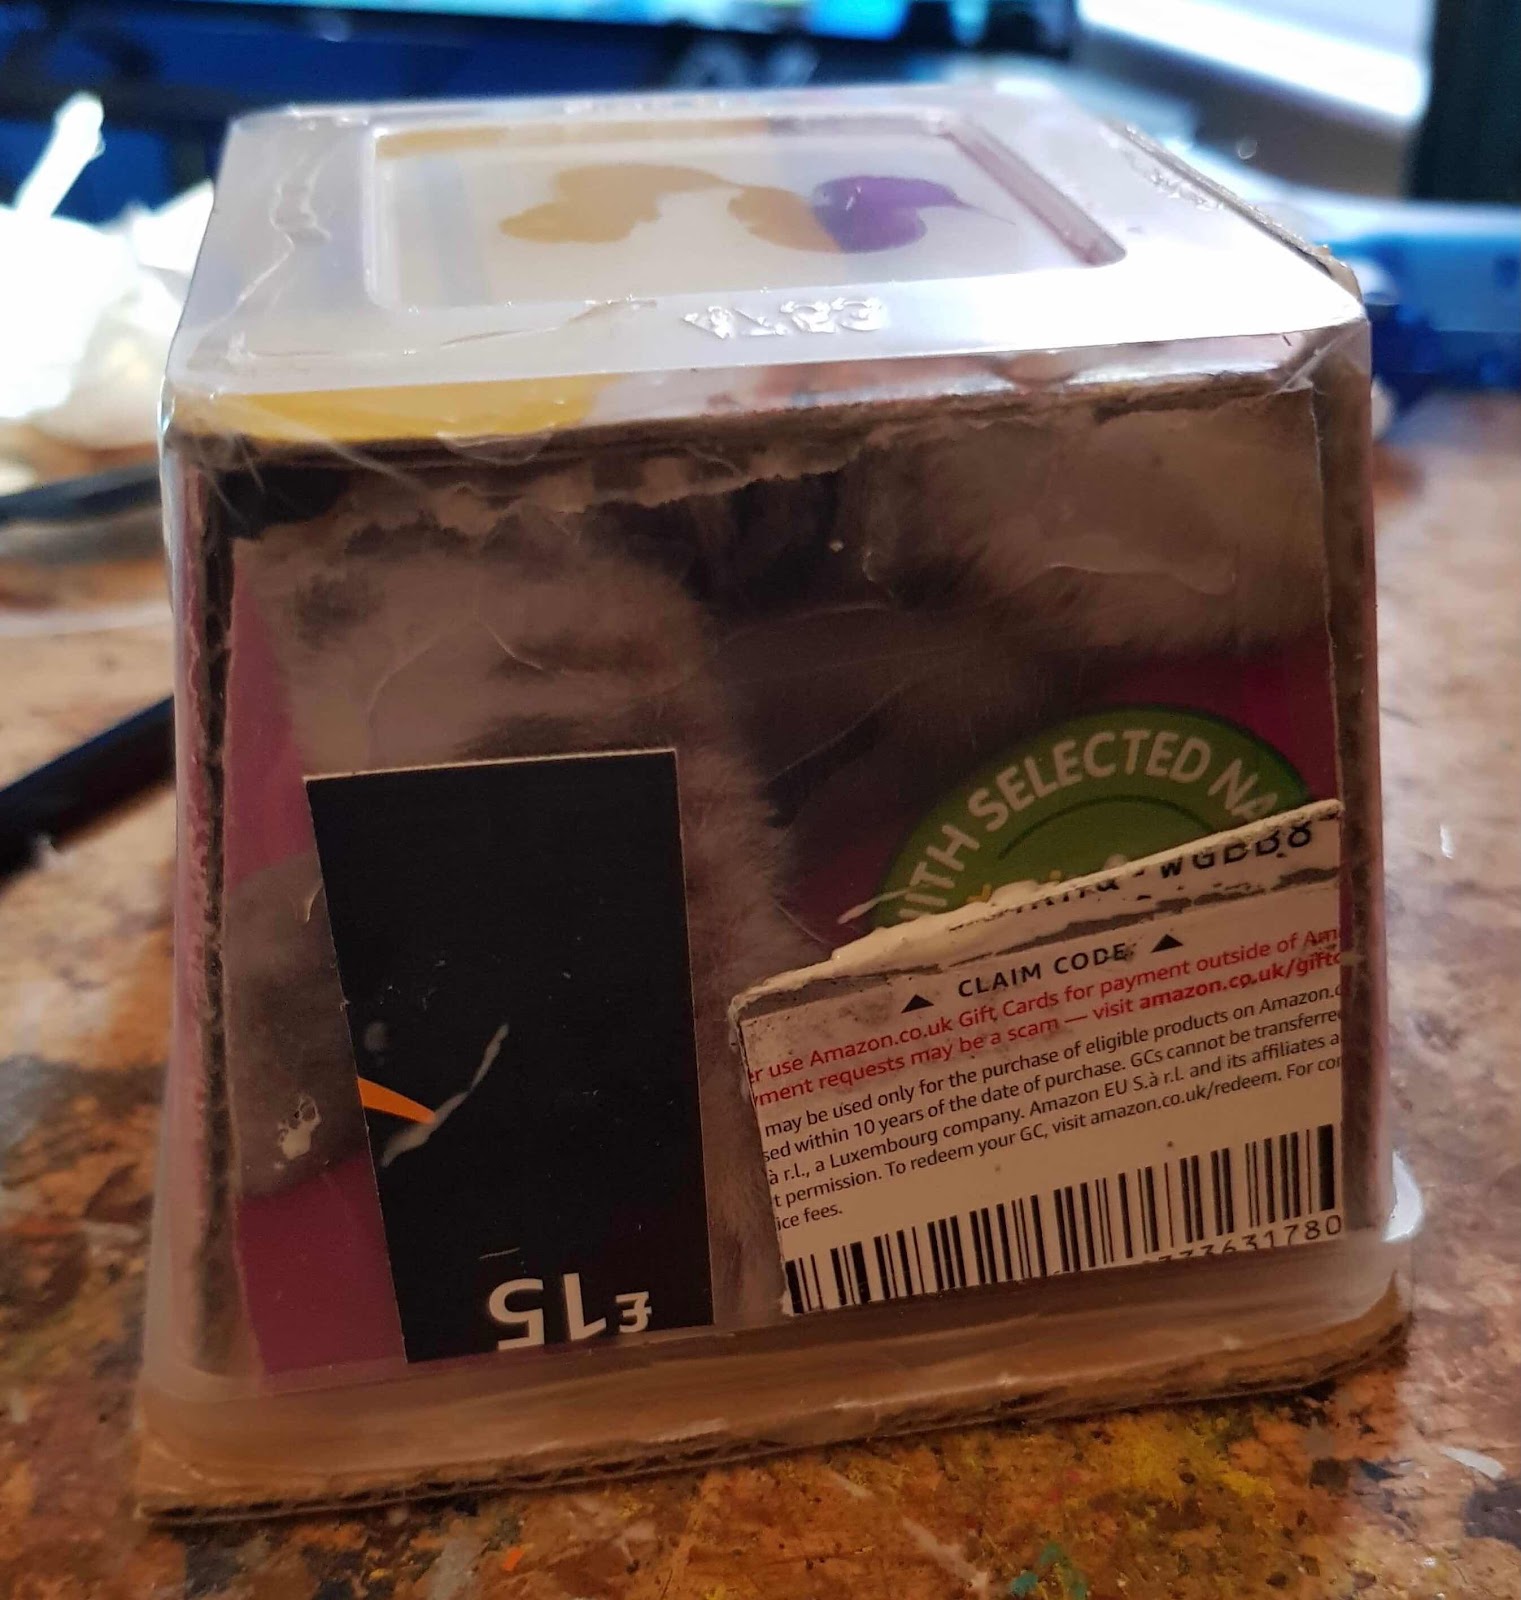
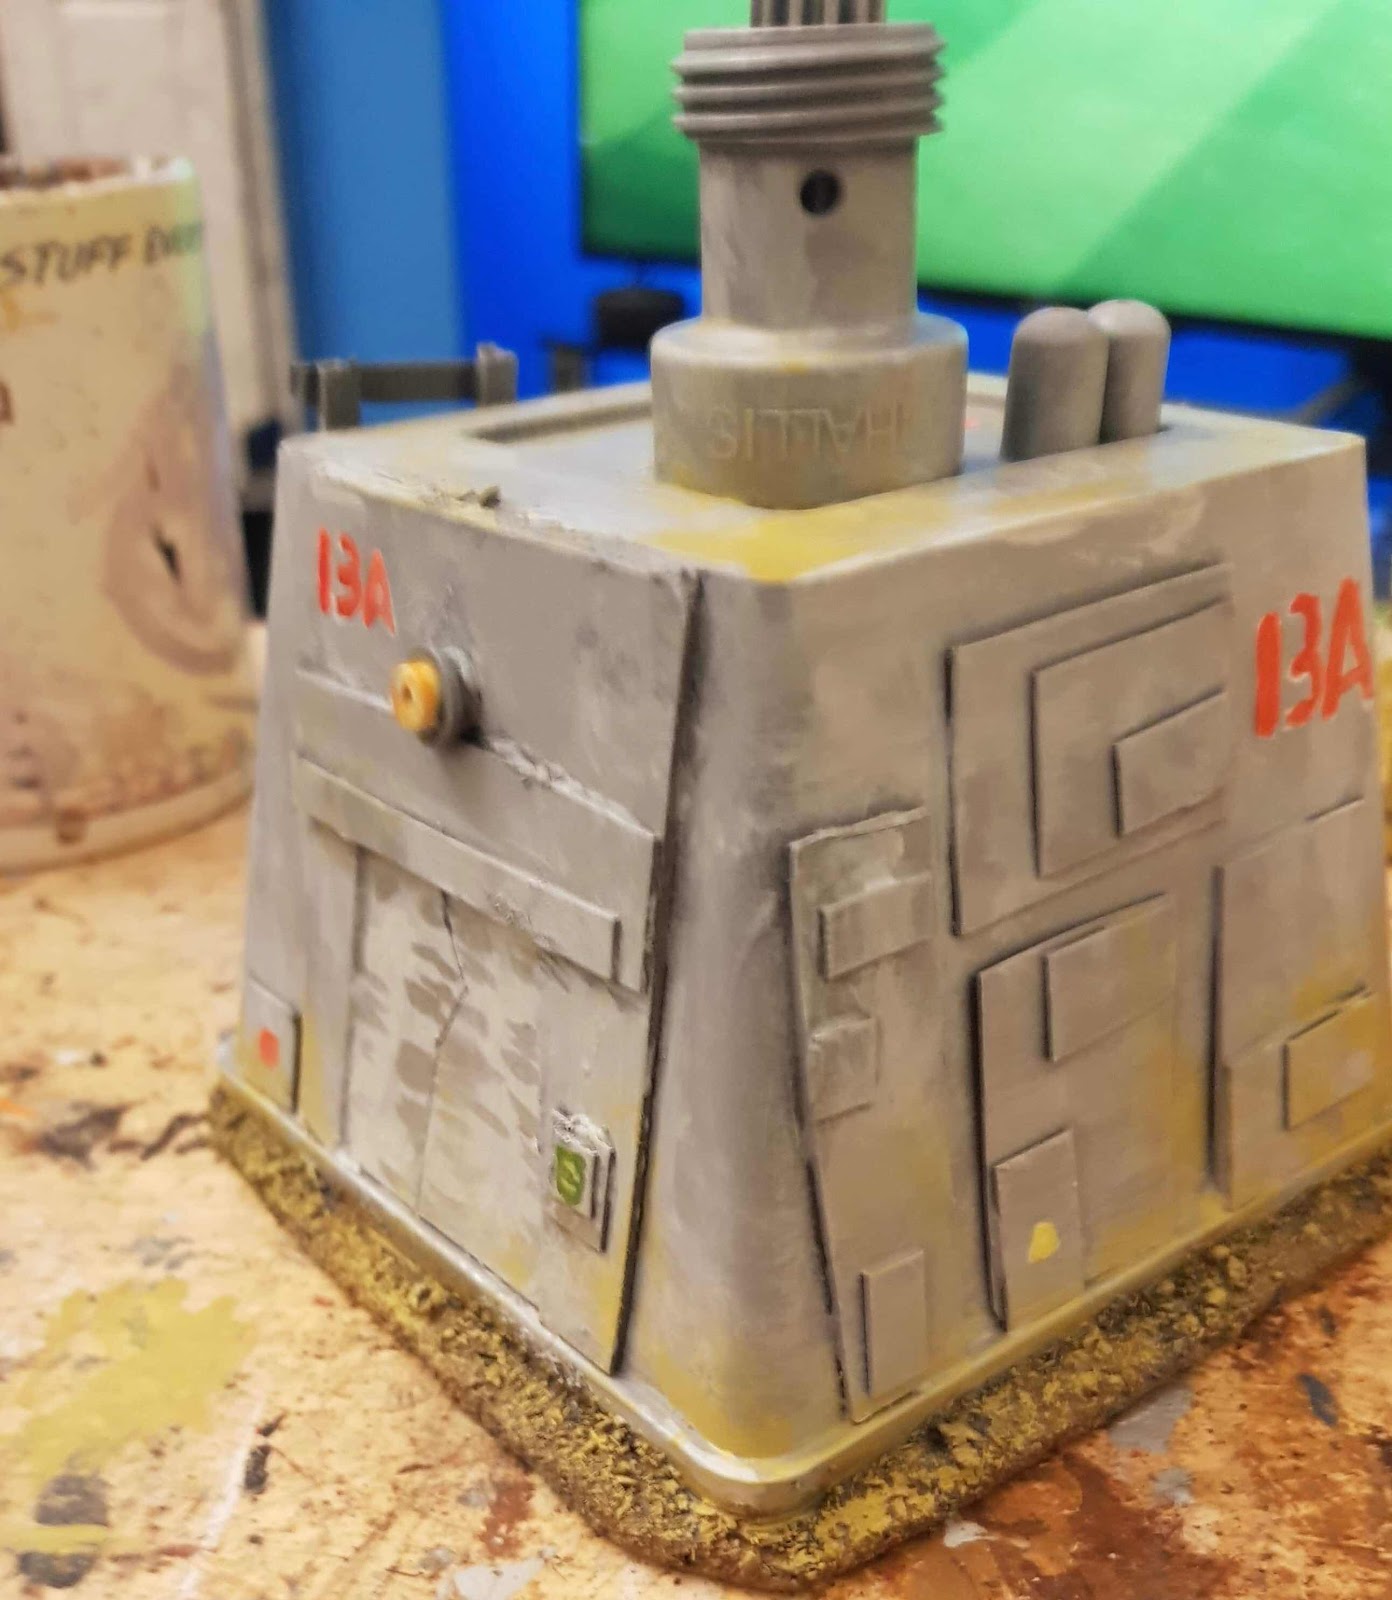
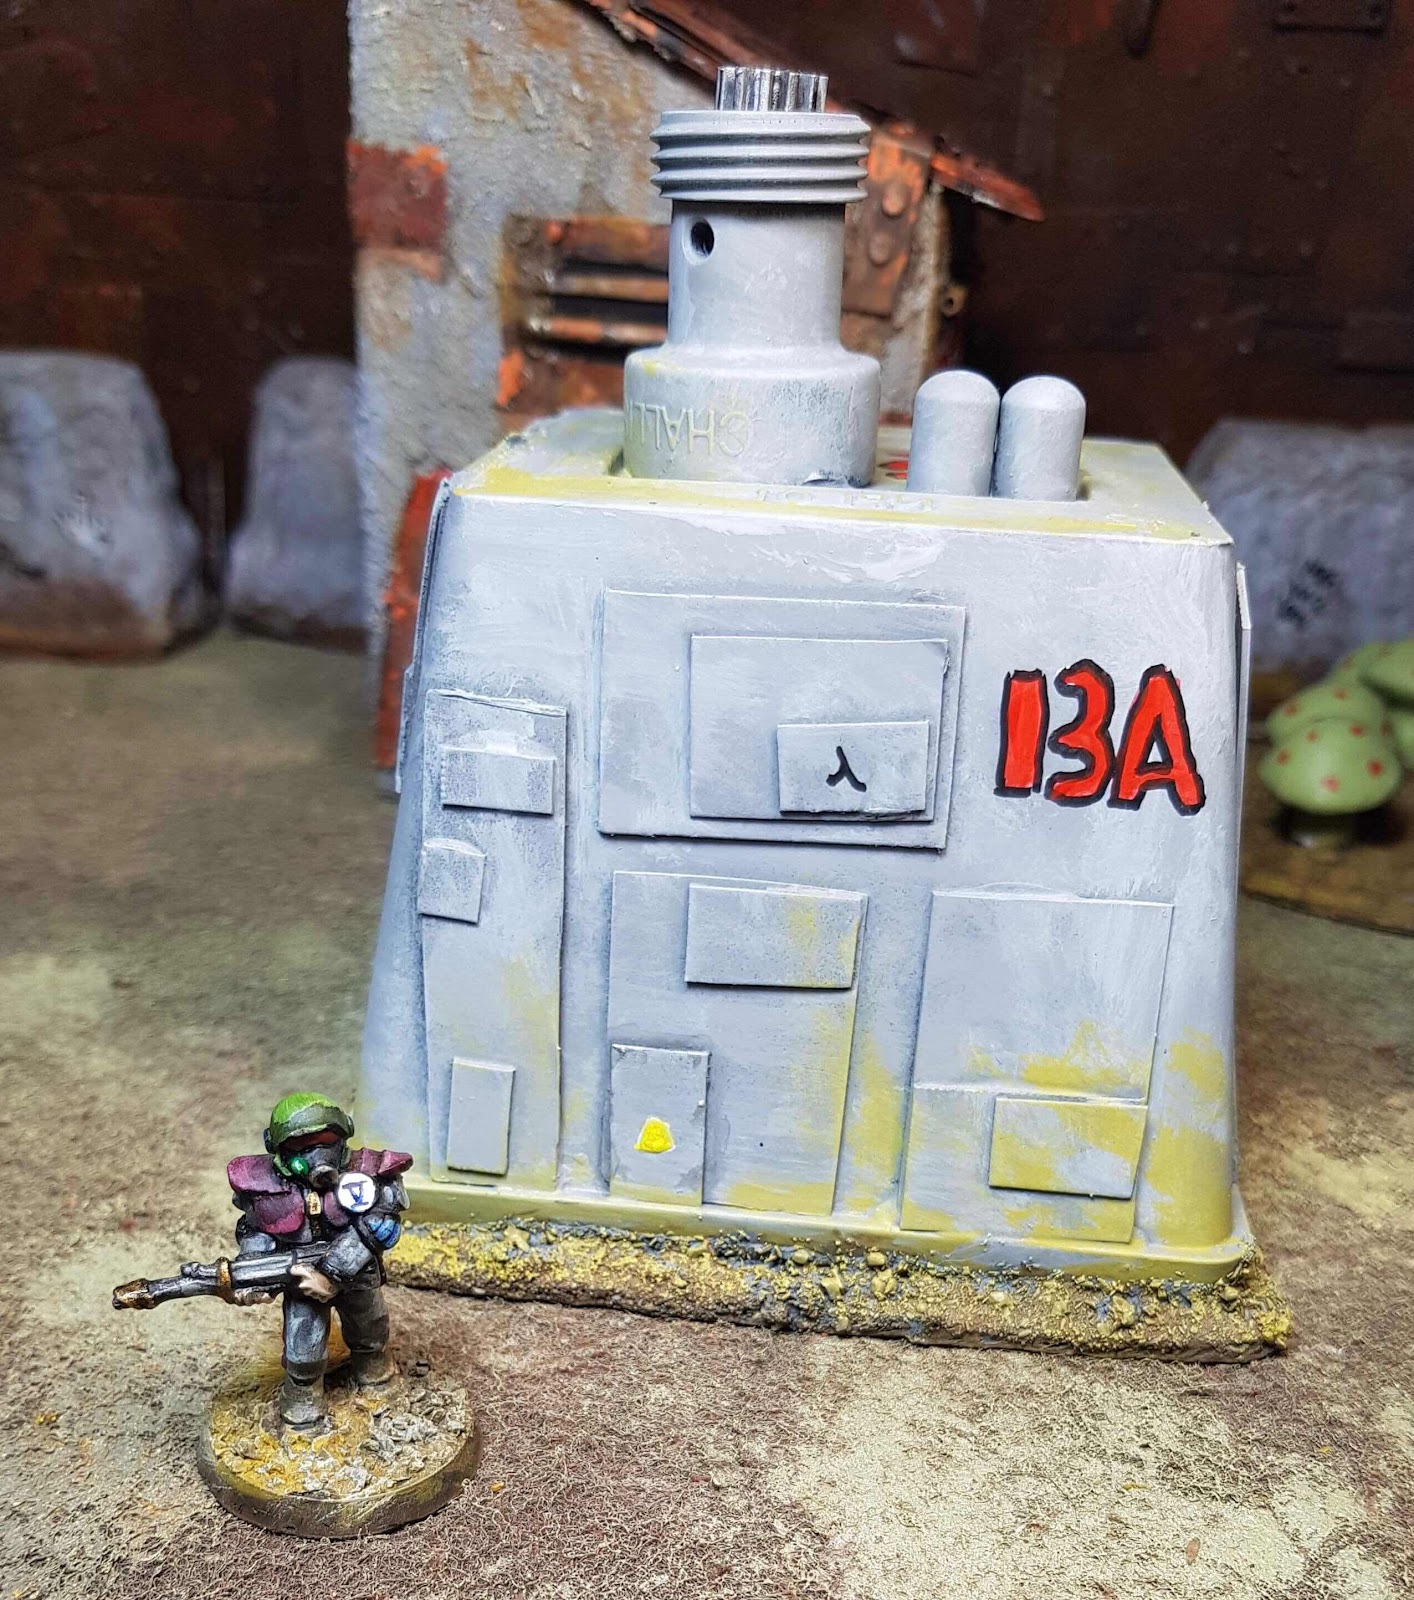
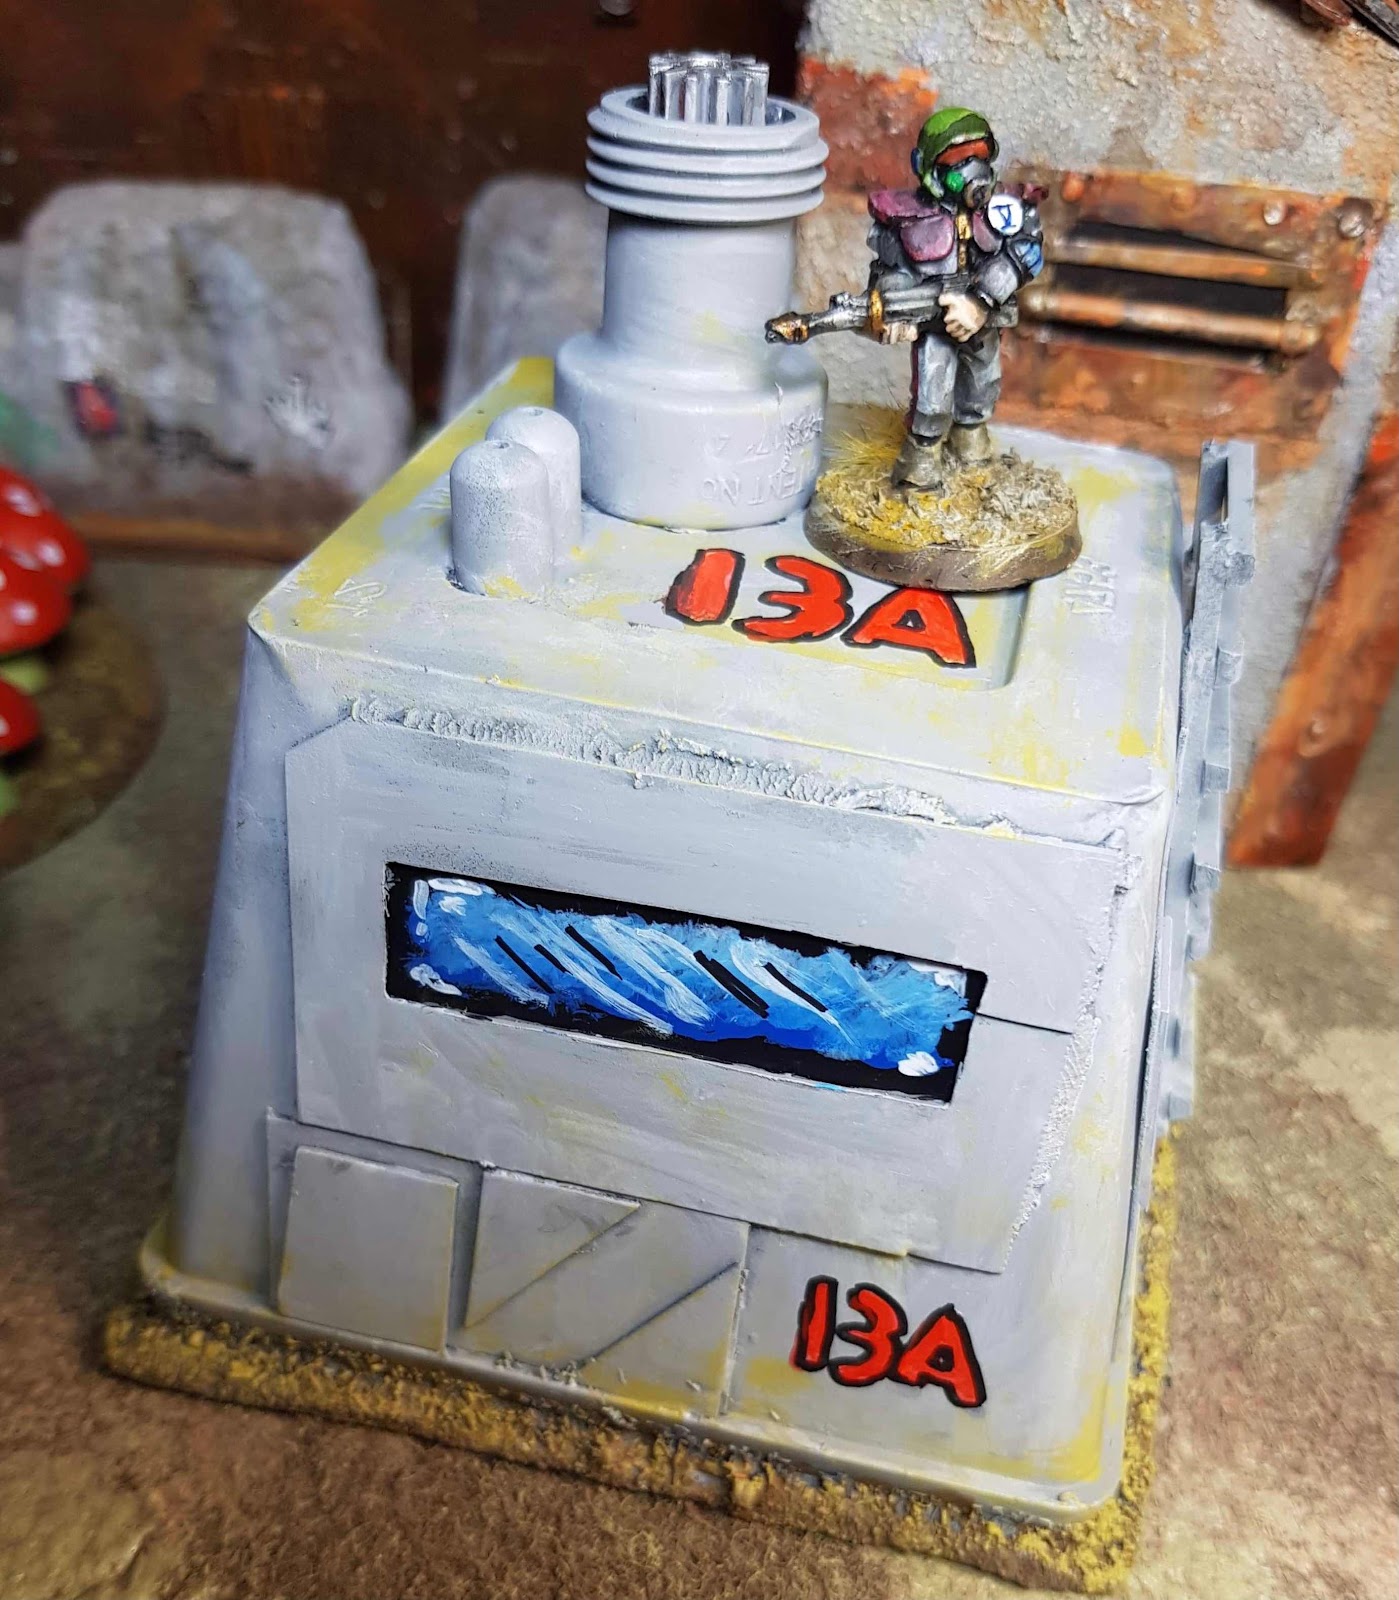
This is the time for feasting. Plastic food tubs/trays often make great a basis for Sci-Fi buildings or vehicles. They can be a bit flimsy so use PVA glue and paper of card in layers internally. It takes time but it does stiffen them up a treat. Another idea is to use spray foam used to insulate homes to act as a filler. The other use for food packaging is for mixing trays.
Some packaging with interesting patterns can be cut up to make panels for detailing other models. Thicker packaging can be cut up and flattened for future use.Pringles/ crisps and sweets often come in tubes. These tubes are often card and can be recycled into all manner of industrial looking models or cut up to make huts.
Foil mince pie trays make great craters. Larger foil trays can be used to mix grey coloured plaster in. Let it set and then break it up – instant Rubble scatter for your ruins!
Gift Boxes:
This time of year the shops are filled with unusual shaped gift boxes of various sizes. If you are lucky you will get a gift in one. They are cheap to buy and make great starting point for a building or just as fancy looking model storage.
Gift Cards:
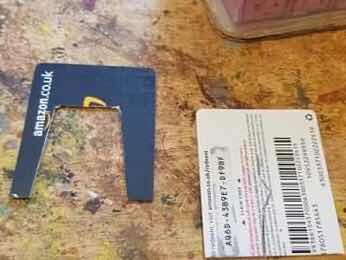
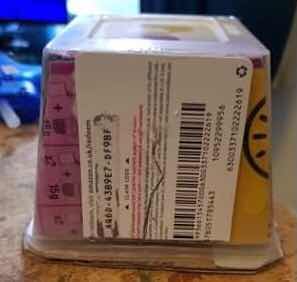
The joys of the gift card. When you have used it, then what? You have a plastic or laminated cardboard card! I have used them many times in my models for panels.
Gift fixings:
Lots of larger gifts and toys are held in place to the packaging with wire or plastic fasteners. These can be reused in models to make greebles.
Glass Jars:
Many tasty food stuffs come in glass jars at this time of year. Once the contents have been consumed, many of these jars are destined for the recycling bin. Once liberated and cleaned they are handy for storing bits and bobs, or paint mixes for terrain.
LED Tea Lights:
Like the LED lights there is also LED Tea Lights that flicker like a real flame on. They are handy to get that festive look without trips to the burns unit or burning you house down. These can be reused as fires or lights in your models. Again check out online for guides on how to use them (yet again Google is your freind here).
Lollipop Sticks:
If you have a sweet tooth you can cheaply stock up on these or you can wait until the kiddies have finished eating their's. Another option is that you can buy them from the craft store. These come in plastic, wood and paper, and make great posts, struts or pipes.
Pine Cones:
Pine cones are great for making alien or fantasy trees and plants. Or you can use them to predict the weather. This time of year these things can be found in stores, but don't waste your money. You can find plenty of pine cones on the ground in your local park or woodlands for free, some may have been nibbled giving a greater varitey of shapes. If your family has a wreath you might also be able to salvage some before it goes into the recycling.
Plastic Cutlery:
Many parties will have plastic cutlery at the buffet. No one wants a load of drunks with sharp metal objects running about or they don’t want the best silver vanishing into the pockets of that dodgy relative. Plastic cutlery can be used for all manner of things such as struts, girders, detail and other things such a cockpit canopies. Help in the post party clean up and score lots of plastic goodies, and maybe also score some brownie points with a relative which never hurts.
Pressed Cardboard Packaging:
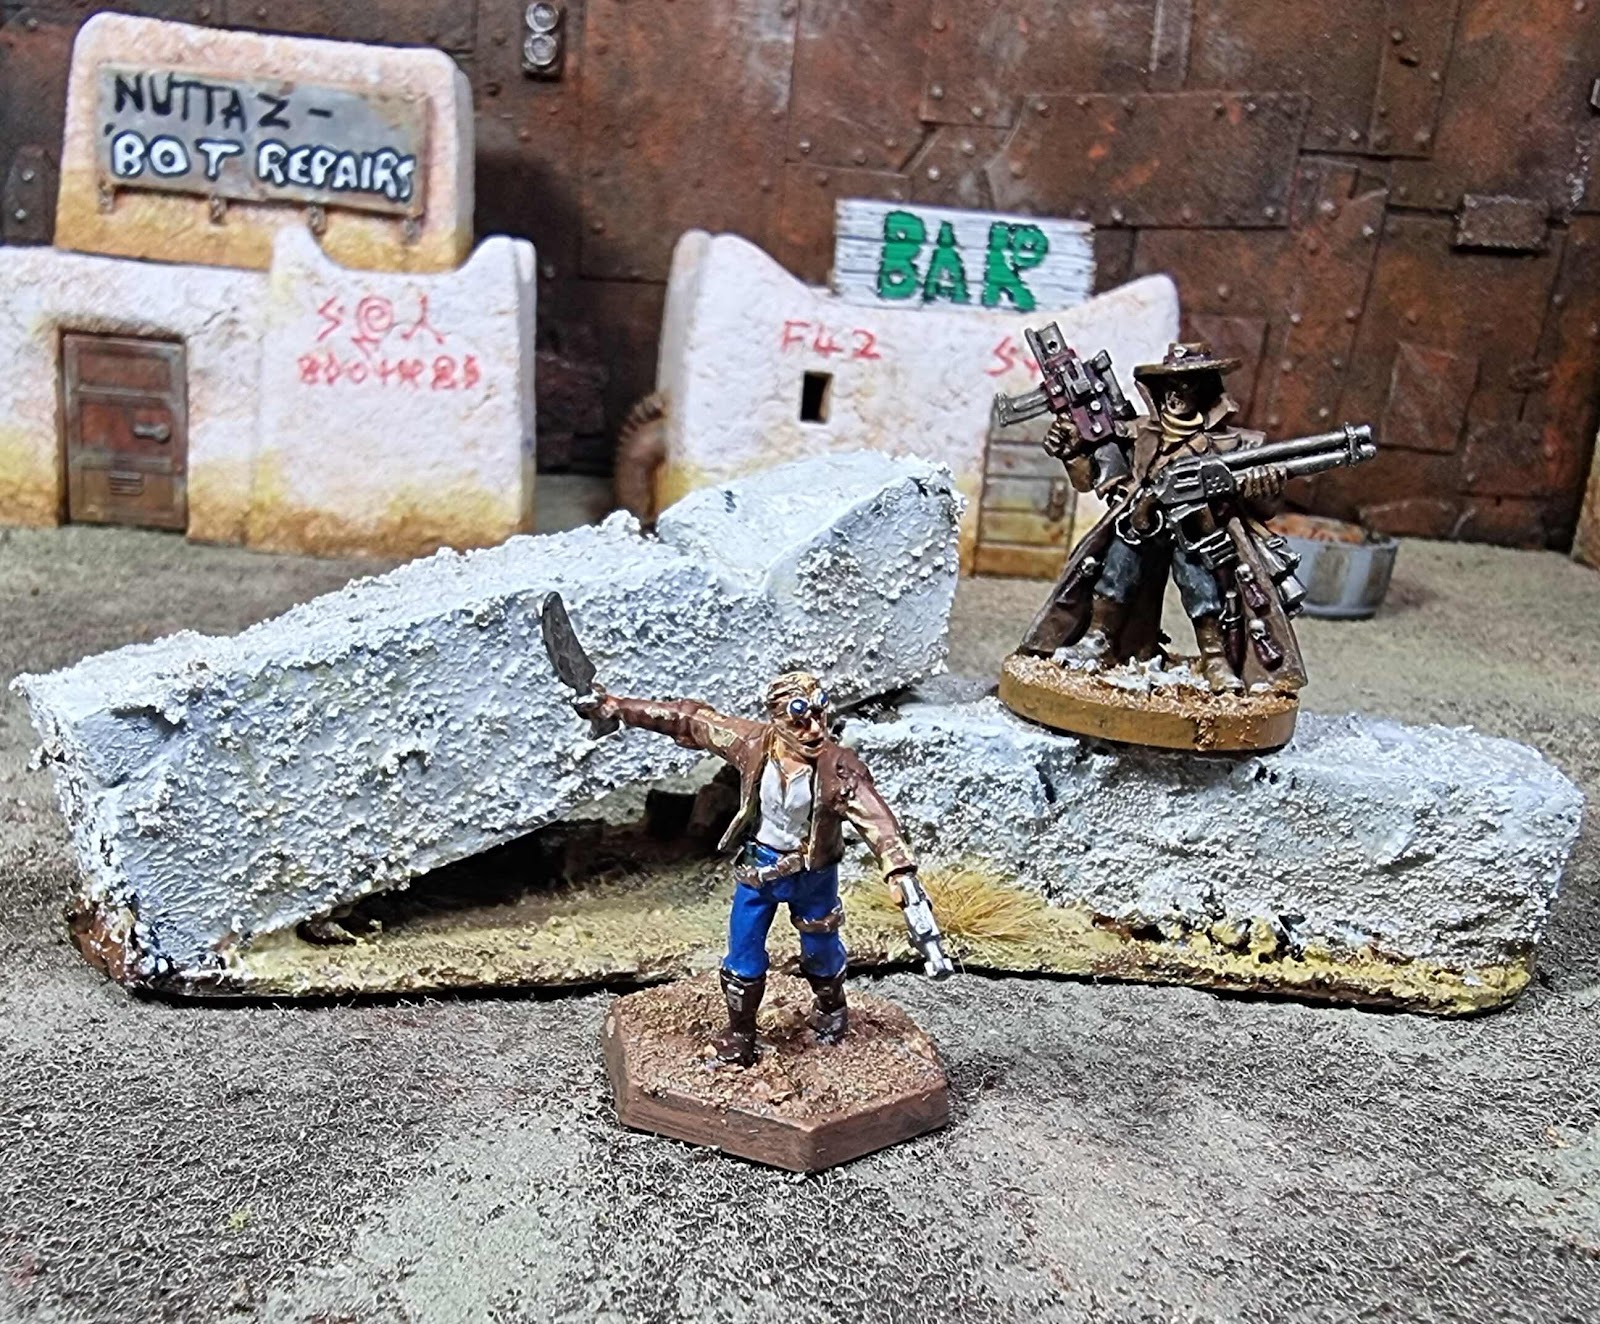
Many items come in Eco Friendly Pressed Cardboard Packaging. These come in odd shapes and are great for making buildings on frontier worlds. The pressed card looks like old de-laminating concrete. It is fairly easy to cut too. Like the plastic tubs they may need re-enforcing with PVA and paper or spray foam. I have made many buildings like this.
Polystyrene & foam Packaging:
Although its getting rarer these days, another popular packaging material is Polystyrene. It is also a popular material with model makers. Often it will need sealing with PVA glue. With some textured paint and details and you can make all manner of buildings and ruins with it.
Real Christmas Trees:
If your family is like mine, they love a real tree at Yule time. Come new year they go to recycling or the fireplace. Look closely at the branches. Remove those needles that still remain. Clip bits off for logs or dead trees. Some bits can also make great alien trees.Snow Mat:
Every store sells the snow mat this at this time of year. Or so it seems to me anyway. Snow mats are for making Seasonal scenes with those seasonal decorations. They are good for gaming too but I found the fleece material often makes the figures fall over. But dear Gamer all is not lost. Glue it to your gaming boards. Give it an coat of PVA glue and there you go, frozen wasteland.
Spray foam:
Spray foam isn't really seasonal but it has been mentioned in list a few times so I am including. Spray foam comes in cans and an be found in many stores this time of year. Its for filling cracks in homes to keep those pesky draughts out. It can be used for making hills by spraying it onto a board. Spray foam is also useful for packing out plastic tubs, card packing and bottles, just remember to spray it to a third full. Leave it to expand and trim any overspill the next day. Do not seal any tubs or bottles as it will deform them. Or it may remain unset until it is opened.
Spray Snow:
The instant way to decorate your home and make it look all Christmassy (allegedly). I have never used it for model making so far. Put a layer of PVA glue on your board. Spray the spray snow on. Let it dry for 24 Hours. Put a couple of layers of watered down PVA glue on the spray snow to seal it. Hopefully, it will make a good durable Snow Board.
Sweets tubs:
Sweets are often plentiful at this time of year and often they come in plastic tubs. Once the contents have been gobbled, these tubs are handy for model or bits storage. The industrious amongst us may also use them for the basis for a larger building or other large model.
Walk in Nature:
After all that feasting you may feel the need for a walk to aid the digestion. Go to your local park or out into nature if it is close enough. Mother Nature is a store house for modelling materials. Twigs for making logs or trees, small stones for rocks, Litchen for bushes and pine cones for making alien trees. Old tree bark can be used as rocks or cliffs. There has been a few fantasy dioramas that have used Acorn cups or Chestnut husks as drums or crows nests.
A walk along a nearby beach will also yeld all manner of sand, stones, shells, driftwood and more that can be used in your models.
Wire:
There is lots of crafting supplies around at this time of year. Wire used for wreath making or tree decoration hooks can be found on the shelves. For hobby use it is good for making armatures, pinning or used as detailing on models.
Wrapping Paper:
After Christmas day there is tons of this stuff heading for landfill or recycling. Grab it. It can be used to re-enforce those plastic tubs or make paper mache hills.
That's the list, but it is by no means exhaustive. I am sure you will find more items to use.
Hopefully you will have blagged some great items to make terrain with come the new year. Its good for your pocket and it helps save the planet by recycling some items heading for landfill. I realise that I may get hate mail or death threats from your significant other/room mates/parents when they realise that I am responsible for you hoarding junk. But for our Art it's a sacrifice I am willing to make!! 😜
Finally I Wish you a your family a Very Happy Christmas and a Prosperous New Year.
Best Wishes!!